
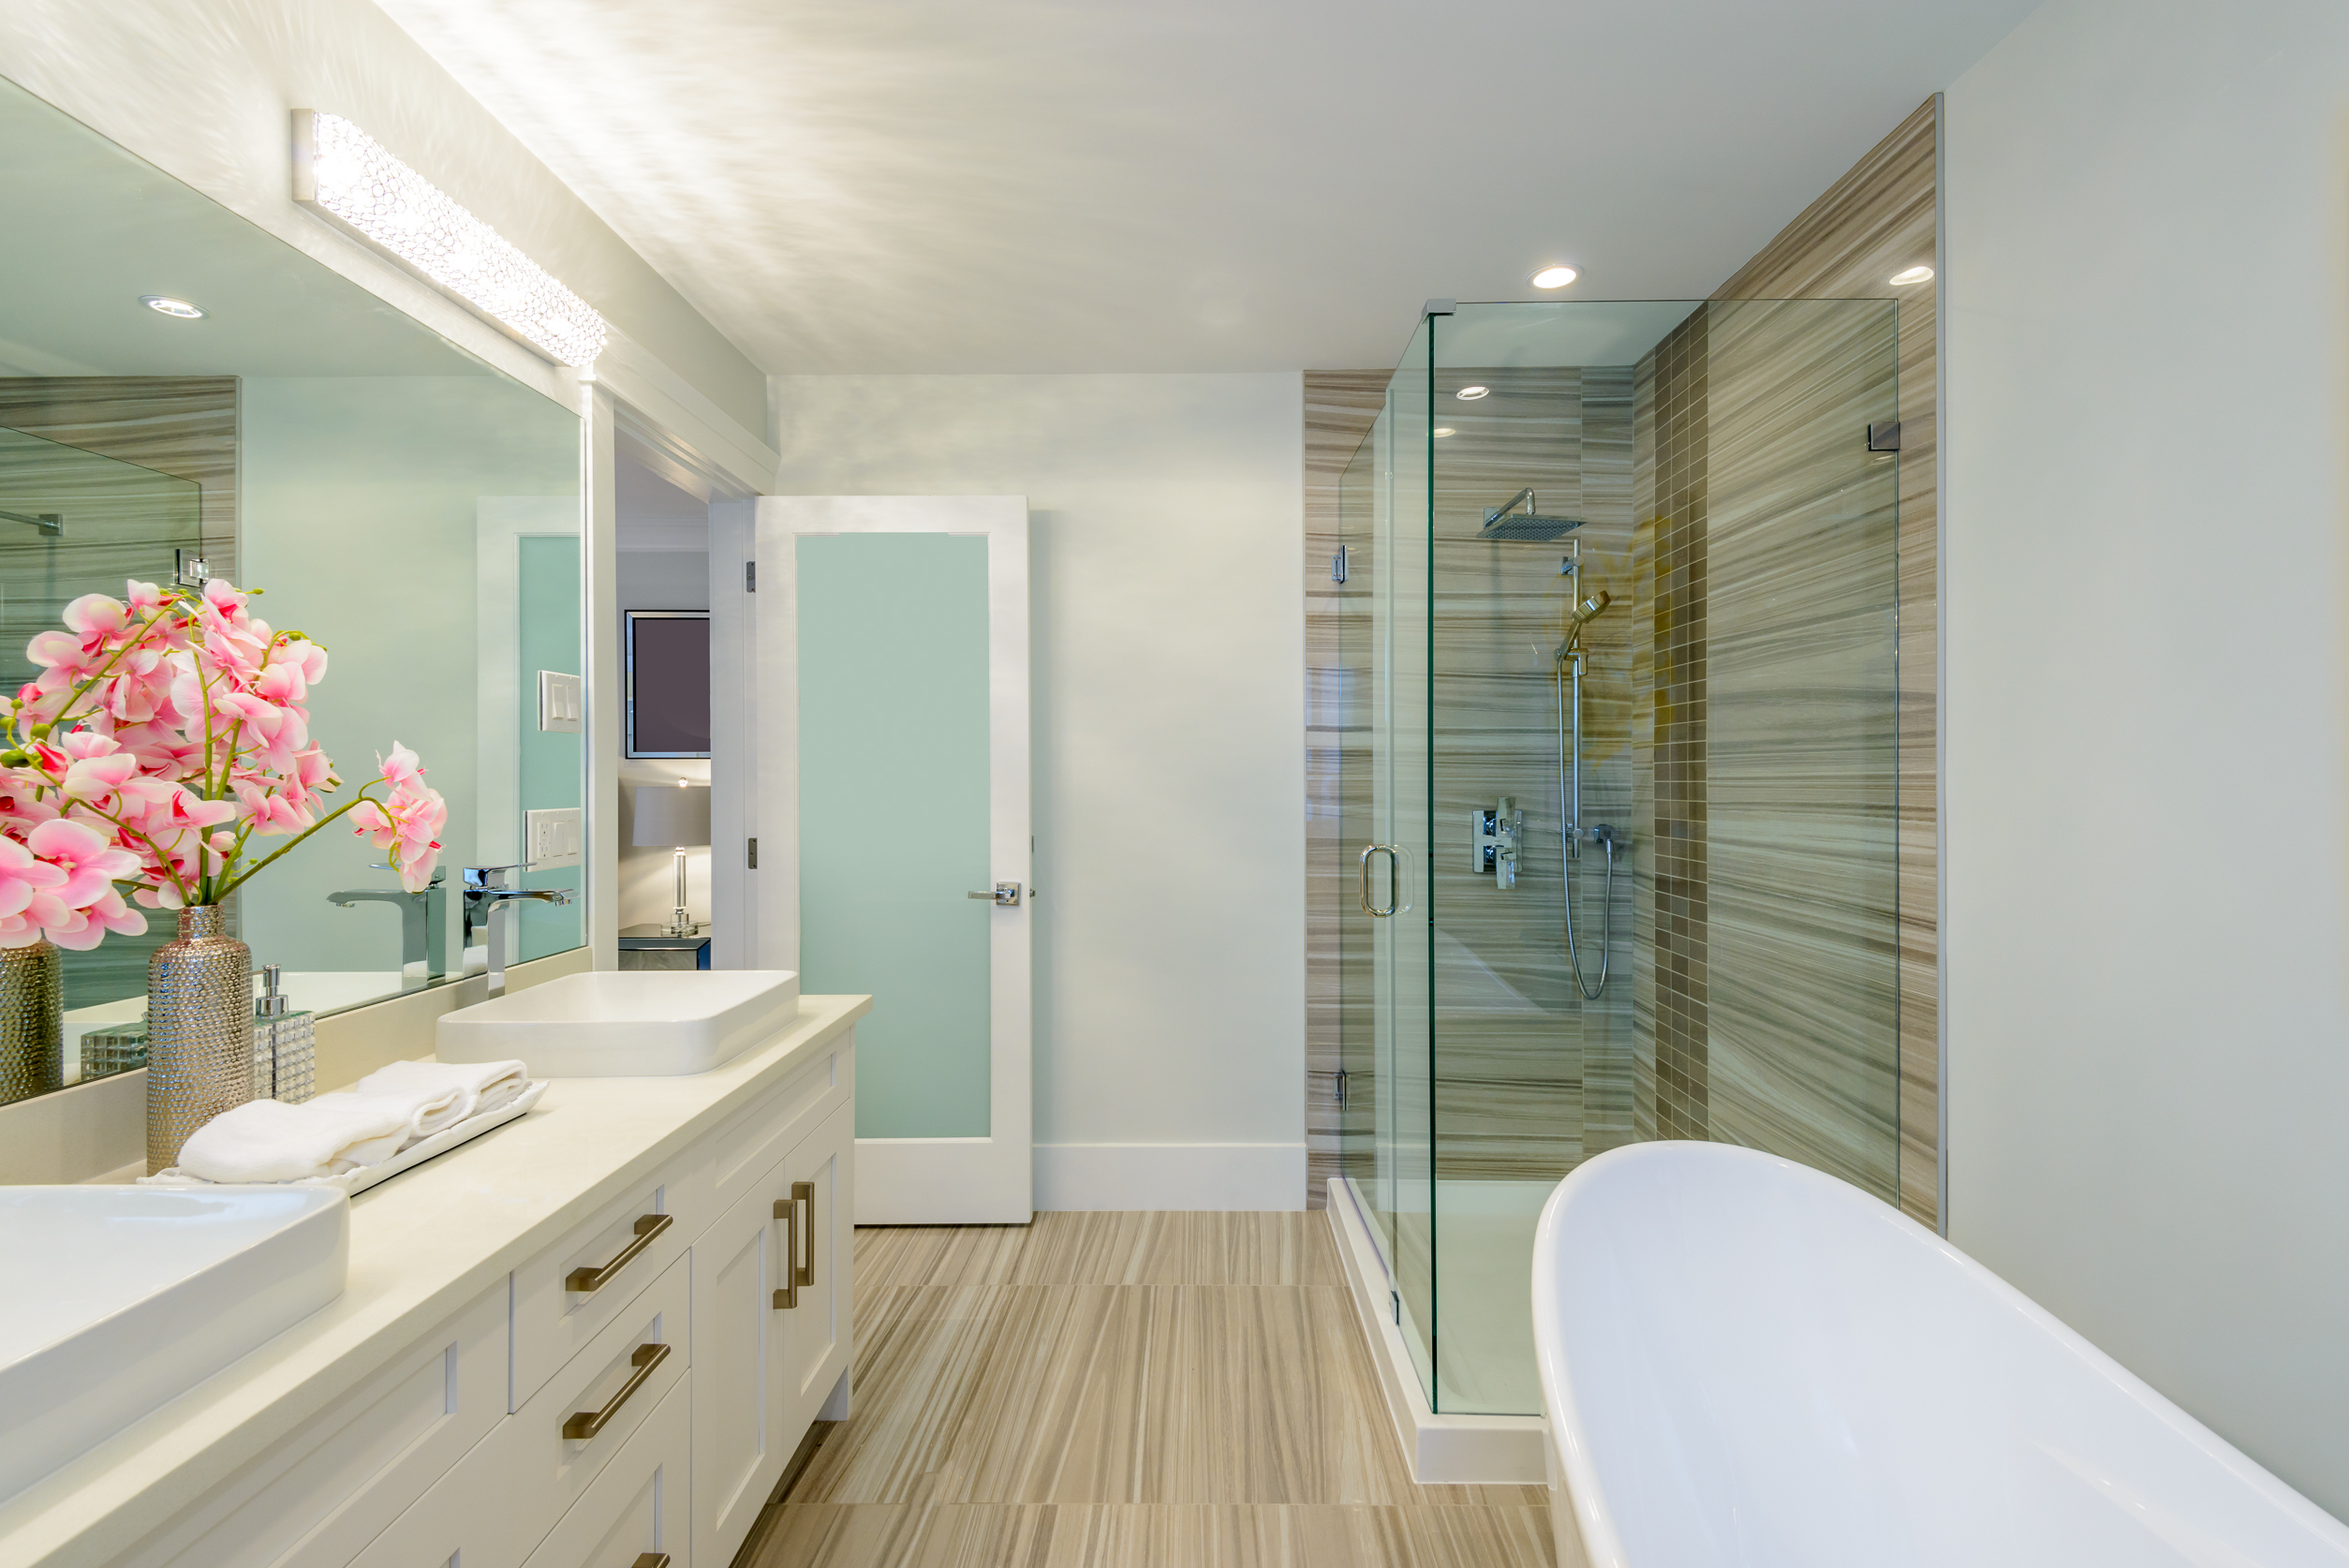
Bathroom Remodeling Guide
General Guide on Installing Bathroom Tile Flooring
Difficulty Level: Moderate
Thinking about updating the flooring in your bathroom?
Before you do anything yourself, make sure you fully understand what you’re getting into. Installing the flooring wrong in a bathroom can have much broader implications to your home, (water damage, etc.) so it’s critical that you are confident in your abilities.
The purpose of this guide isn’t to provide literal step by step instructions on replacing a bathroom floor, but rather to provide a general understanding of what’s involved, so you can make an educated decision about whether it’s something you’re able to do yourself, or if it’s something you should hire a professional contractor to do.
If you have questions on what it would cost to have Archway help with your particular bathroom flooring project, contact us online or call 1-773-688-9864 – we’re here to help!
Part One: Planning your Bathroom Floor Project.
The first step in replacing your bathroom flooring starts with design & general planning.
Map out what you want to do with the floor, starting with tile selection and other options that will impact the flooring configuration. Many people use this as an opportunity to add things like radiant in-floor heating, towel warmers, efficient, wall mounted toilets, bathroom vanities, storage cabinets and more.
Browse through our bathroom remodeling section of our site for some inspiration and ideas – there’s also some great articles within our Blog that are specific to bathroom renovations that might be helpful to spark your imagination.
Make a full list of all the tools, materials & tiles you’ll need to get the job done. This will keep you organized and let you keep track of costs. Pick the dates when you’ll be doing it, making sure you have several days to complete the project.
Doing some remodeling planning in the beginning will make sure you’re aware of all aspects of the project, including costs, materials & tools required. This will ensure your project is not only successful, but looks amazing too!
Part Two: Demolition – Removing the Old Bathroom Flooring.
Step 1: Remove existing flooring.
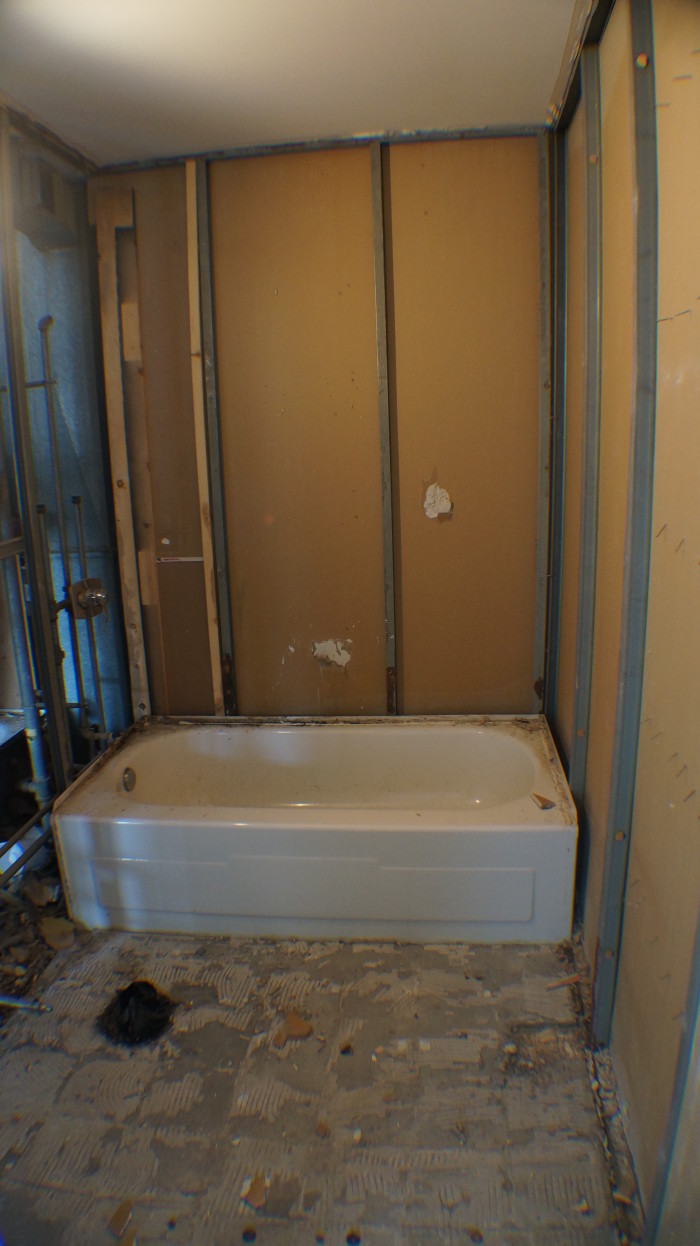
When replacing a floor in a bathroom, always remove all your existing flooring, including the subfloor. The subfloor is an extremely important component to the overall flooring process because it acts as the foundation underneath the tile, keeping the floor level, supported, as well as acting as a final water protection barrier.
Step 2: Install the subflooring.
Before beginning the installation of the new subfloor, measure the bathroom floor several times to ensure accuracy (measure twice, cut once). Then, cut and lay high-quality pressure treated plywood underlayment using screws designed for moisture, and heavy-duty glue. This will ensure that the bathroom subfloor is 100% level and ready to accept the cement board.
Step 3: Install the cement board.
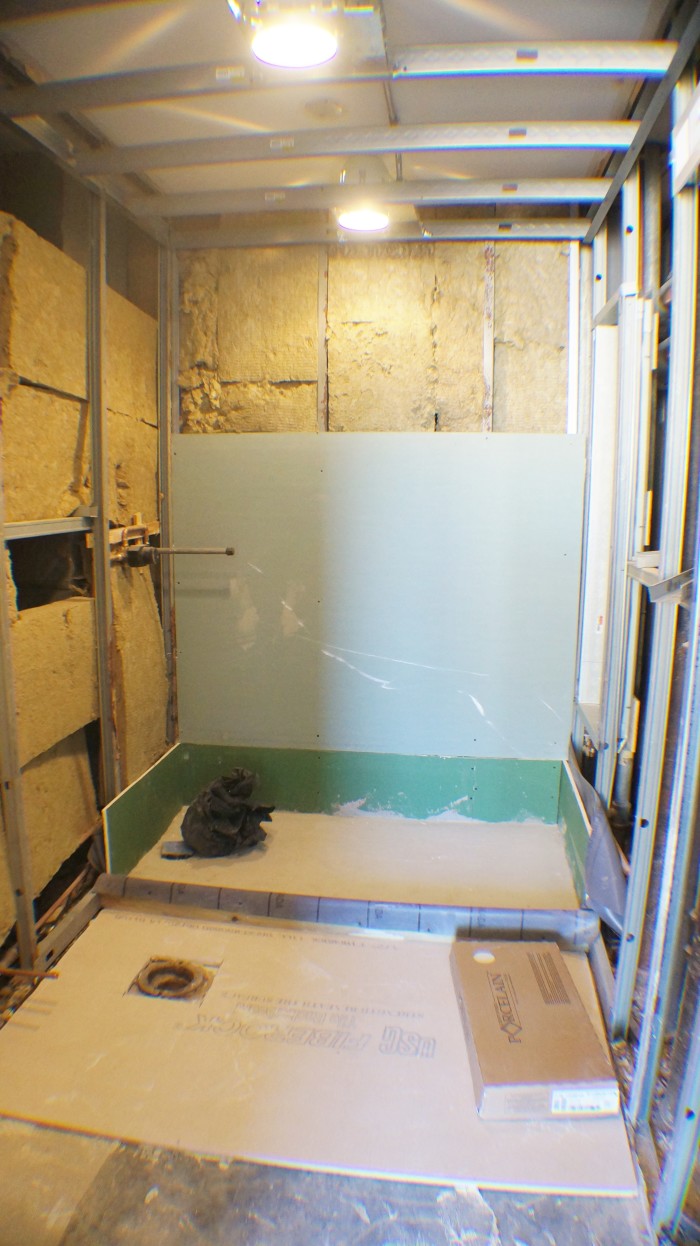
With the plywood securely laid, the next step is to attach cement board on top of the plywood. We use a brand of cement board called Durock as it’s the best cement board available. This particular cement board is water, moisture and mold resistant, making it great for an added layer of protection underneath your tile. The cement board is cut into panels using a circular saw, and then screwed into the plywood with special polymer-plated steel screws that are made specifically for high moisture applications.
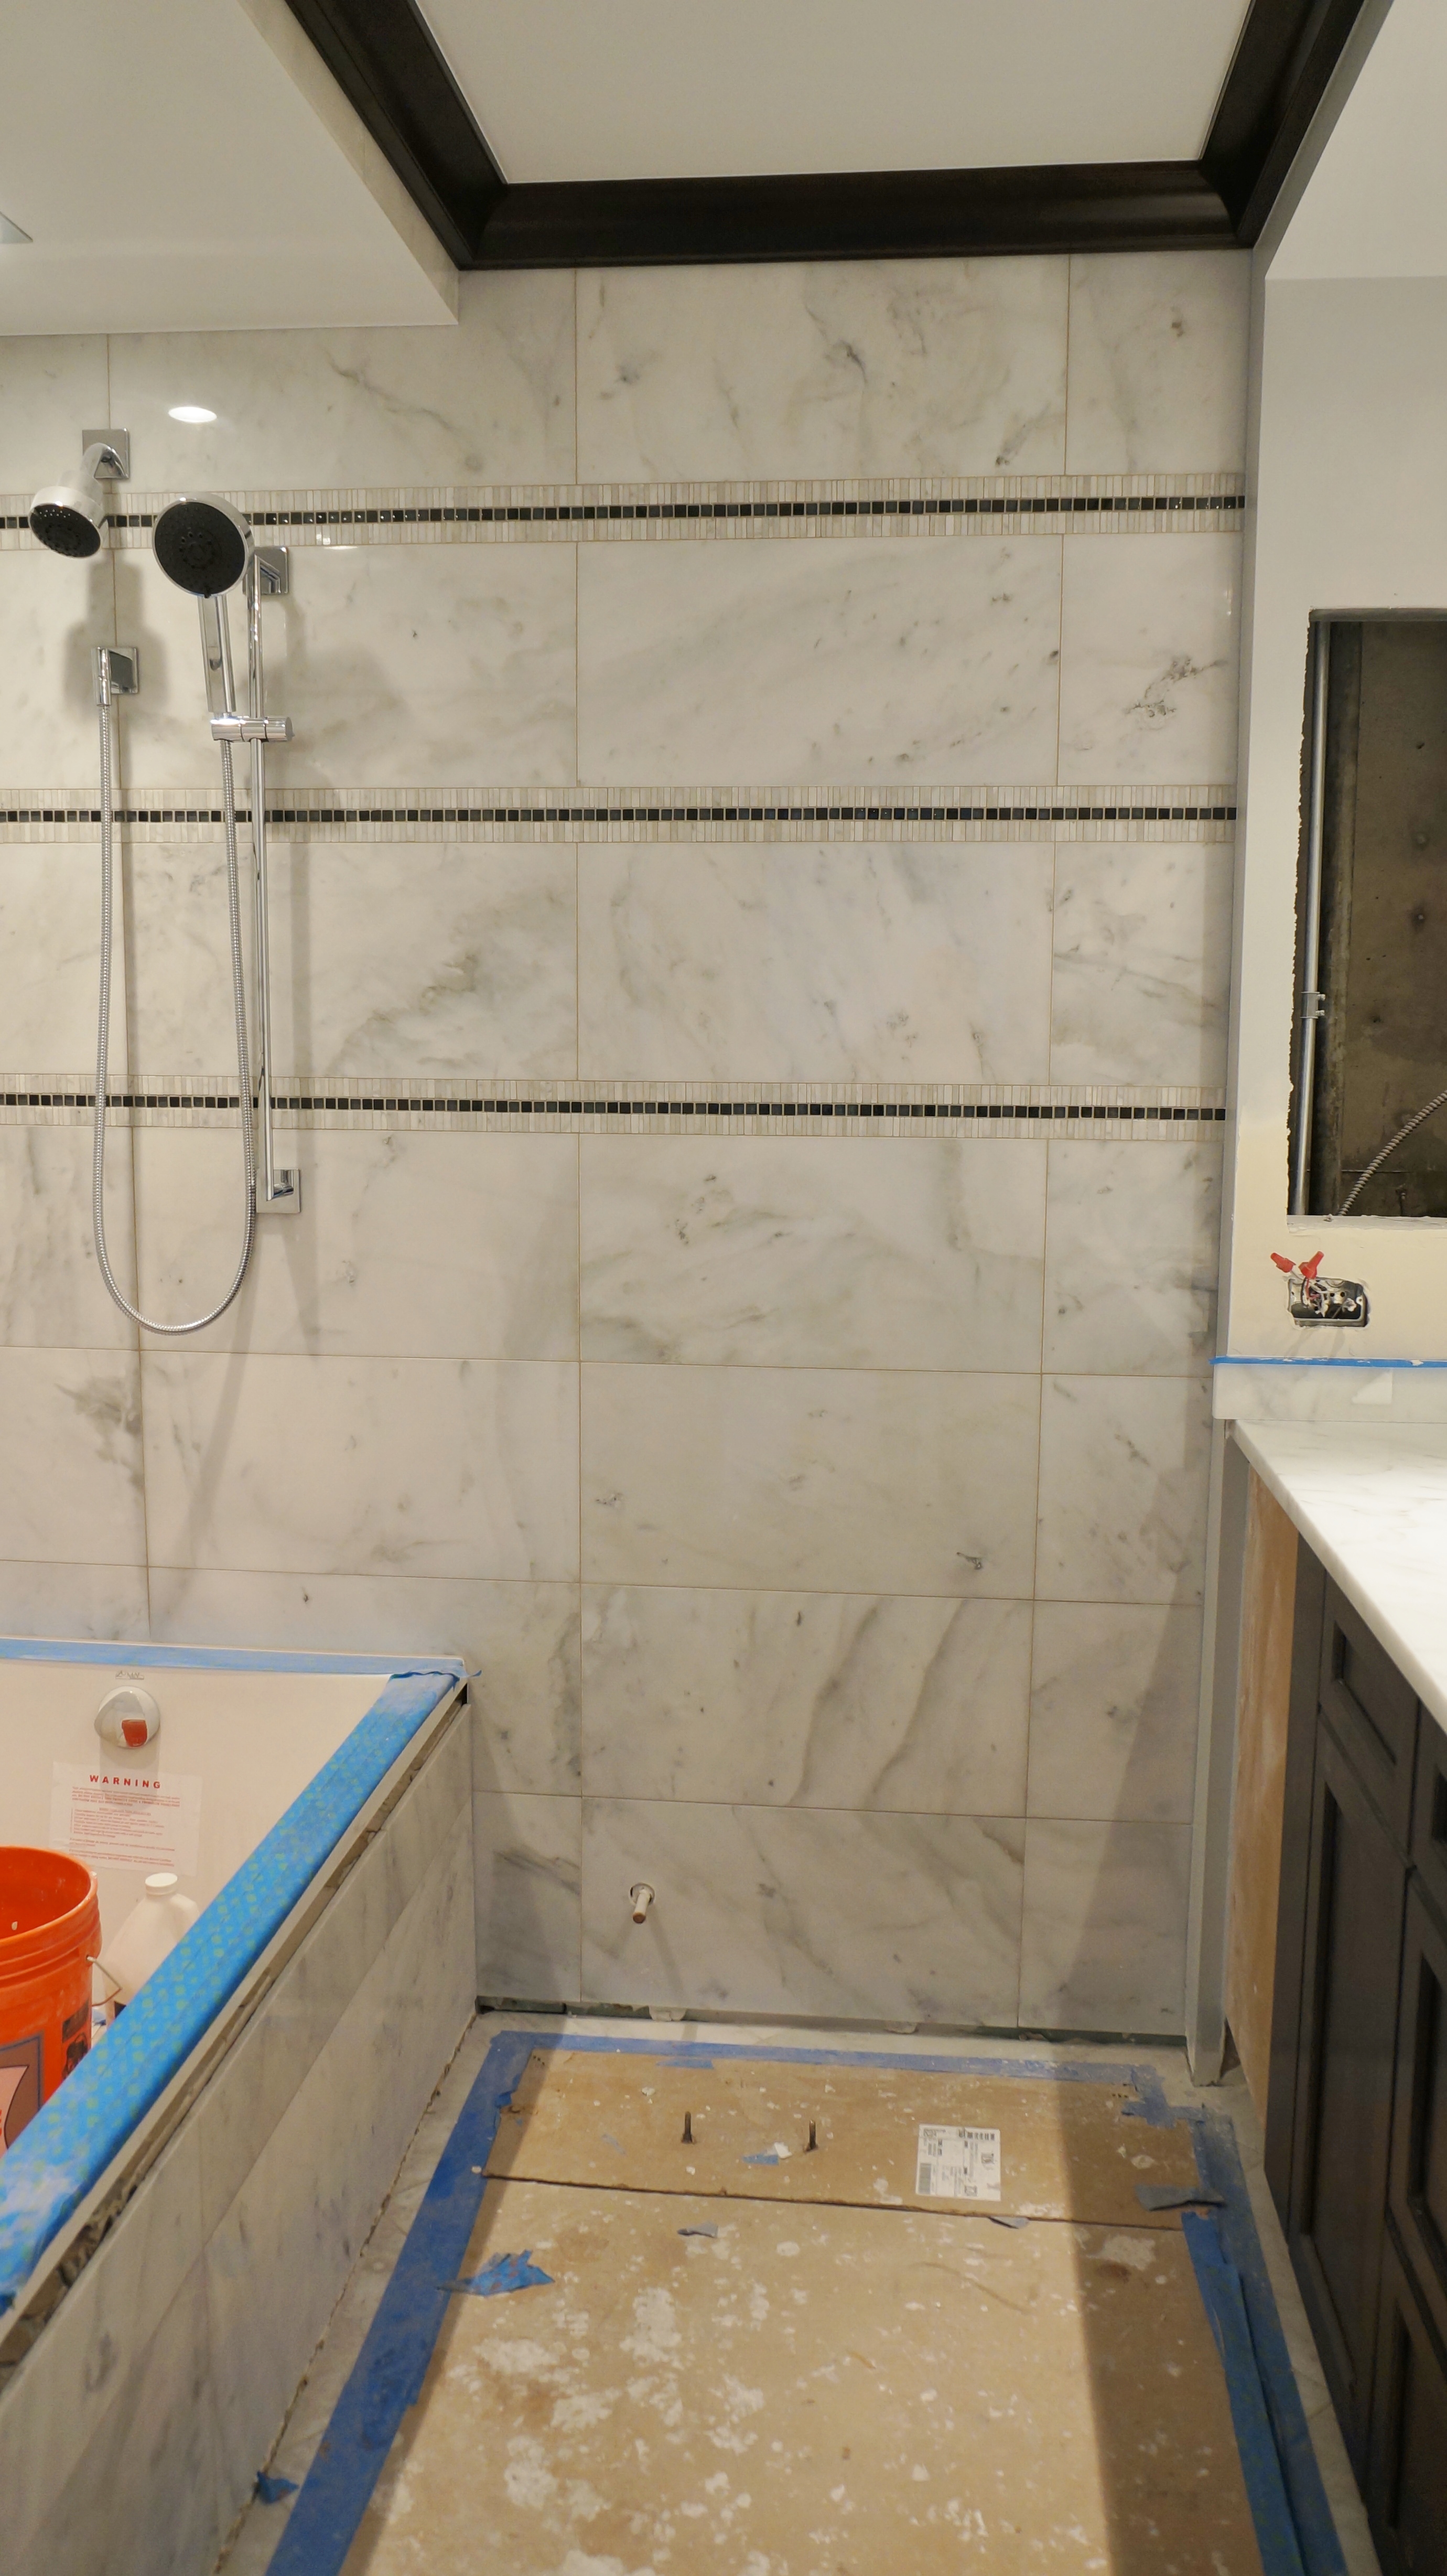
Part Three: Laying the Bathroom Tile.
Step 1: Bathroom floor tile placement.
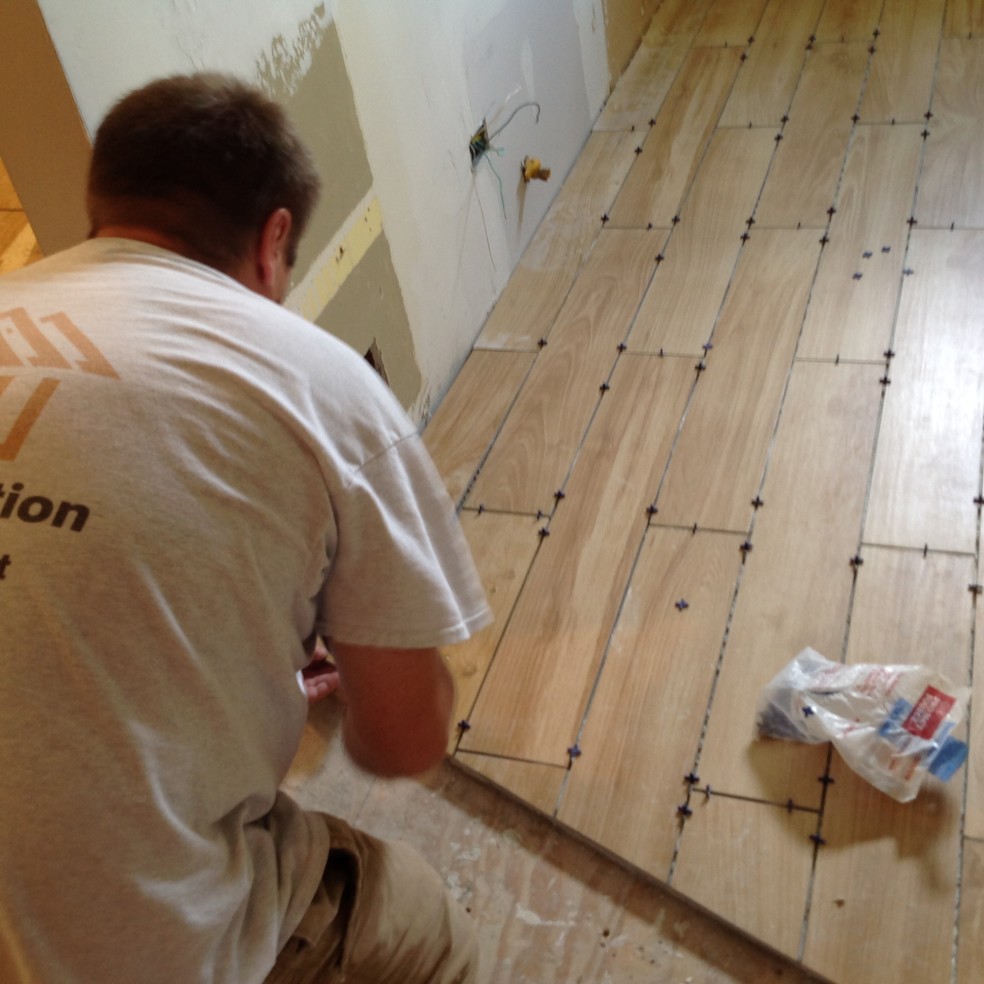
Before laying the floor tiles, a layout needs to be determined for the bathroom by configuring the tiles in a way that will use the most whole tiles and best fits the space. To ensure an even tile placement, use spacers between each tile to ensure perfect spacing, and that they are even and square.
Once a layout is decided, the tiles are cut (if needed) to fit the layout and dry fitted to confirm that the tiles fit correctly across the entire floor.
Step 2: Mixing the mortar.
Once you’re satisfied with the tile layout, carefully remove all the bathroom tiles so they aren’t damaged, and you can get started with mixing your mortar, making sure you’re wearing safety glasses, dust mask, and rubber gloves, because the mortar is caustic and can burn your skin. Use a proper mortar drill mixer, as you can’t do it by hand.
Step 3: Applying the mortar.
When mixing is complete, start applying the thin-set mortar onto the subfloor, working in small sections.
The mortar is a very strong adhesive that bonds the tile to the subfloor. Start in the center of the room, using a trowel that has the notch shape and size recommended by the mortar manufacturer, as the notches control the amount of mortar applied to the floor and tiles.
Step 4: Placing the tiles.
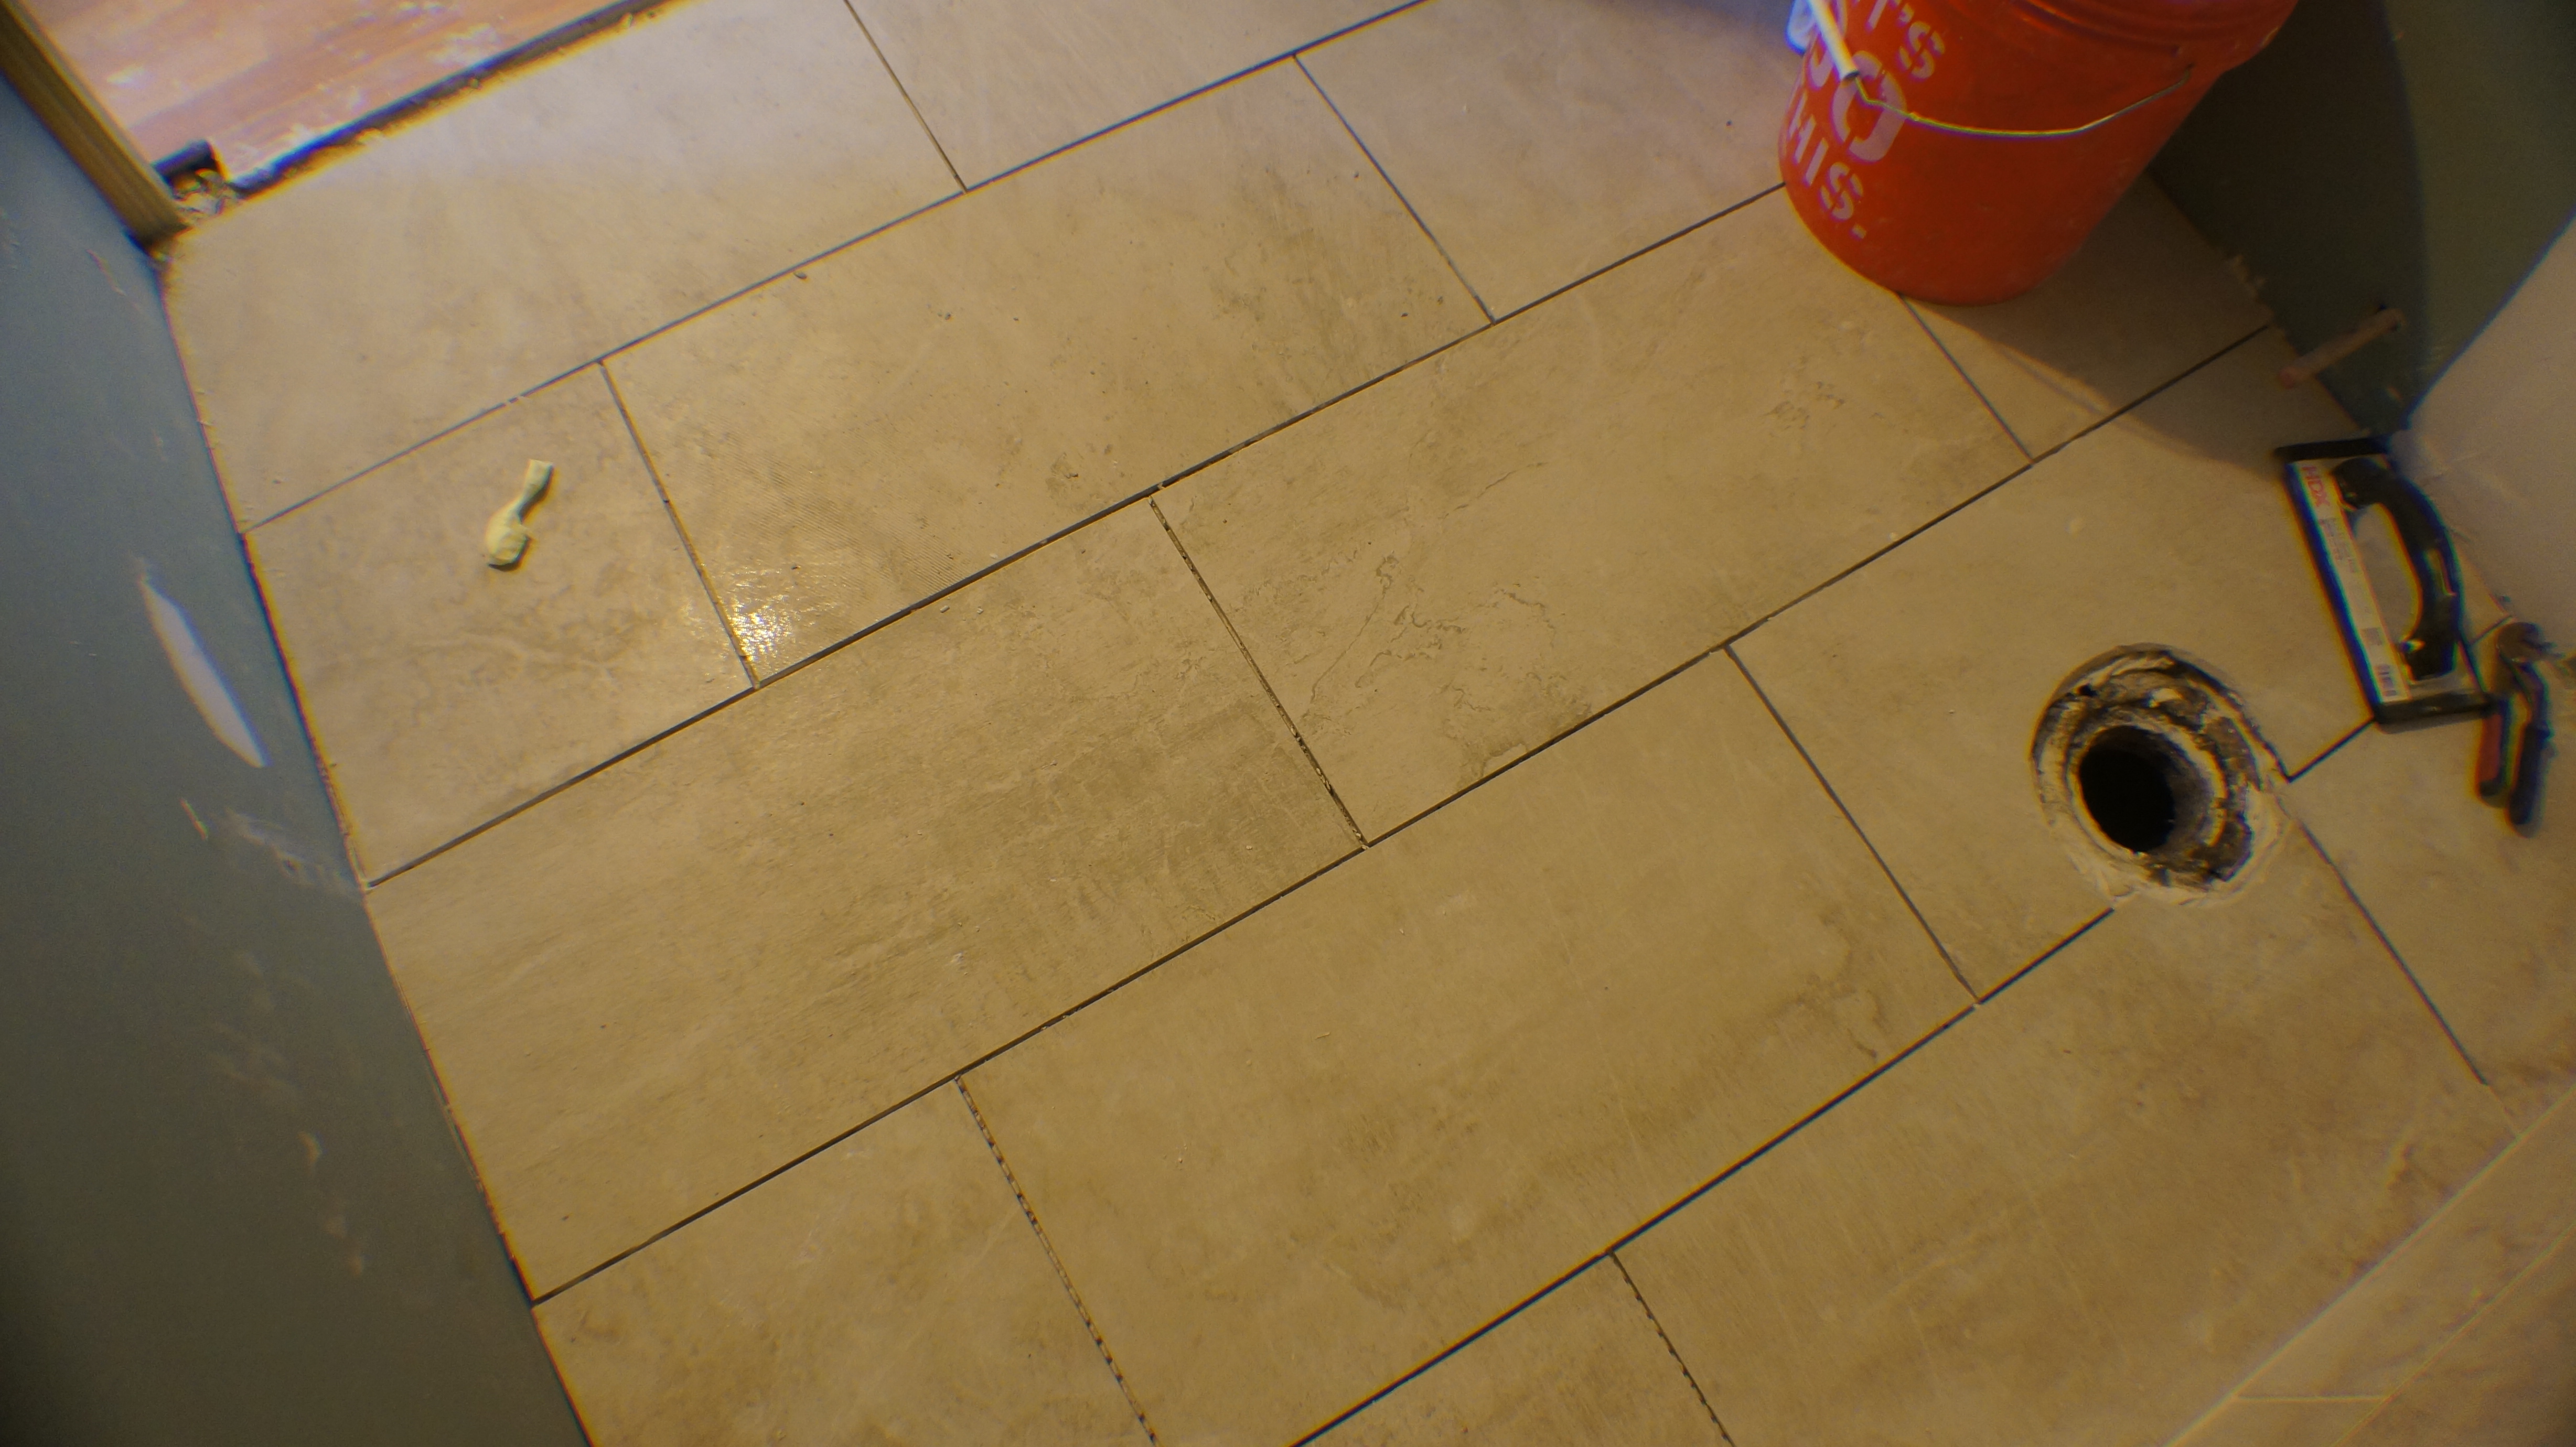
Tiles are then placed on top of the mortar, again using spacers to ensure even placement and to hold the right position. Since you’ve already dry fitted your tiles, you’ll be ready for areas that require cutting the tiles, around cabinets and bathroom fixtures – make sure you have a good quality tile cutter so you get nice clean cuts. Make sure you’re cleaning the mortar as you go because once the mortar dries, it’s very difficult to remove. Use a big sponge that’s moist enough to wipe up the mortar but not so wet that it leaves the rest of the mortar runny.
Step 5: Dry time and grouting.
With all your tiles laid, allow the mortar to dry for about 24 hours. After it’s dry, you’ll need to clean any excess mortar out of the grout lines with a stiff bristle brush. Then you’re ready for grouting.
Grout is available in powder or premixed form. If you’re using the powder, only make as much as you can use before it begins to set. To apply the grout, spread using sweeping arcs, pressing the grout firmly into the joints so they are completely filled, working in small sections.
Allow the grout to harden slightly, roughly 5 minutes, then wipe the excess grout off with a damp sponge, being careful not to remove the grout from the corners of the tiles. Once this has been done, use a damp microfiber cloth to clean the surface of the tiles, drying with a dry cloth immediately afterwards – making sure the tile surface is perfectly clean.
Step 6: Sealing the grout.
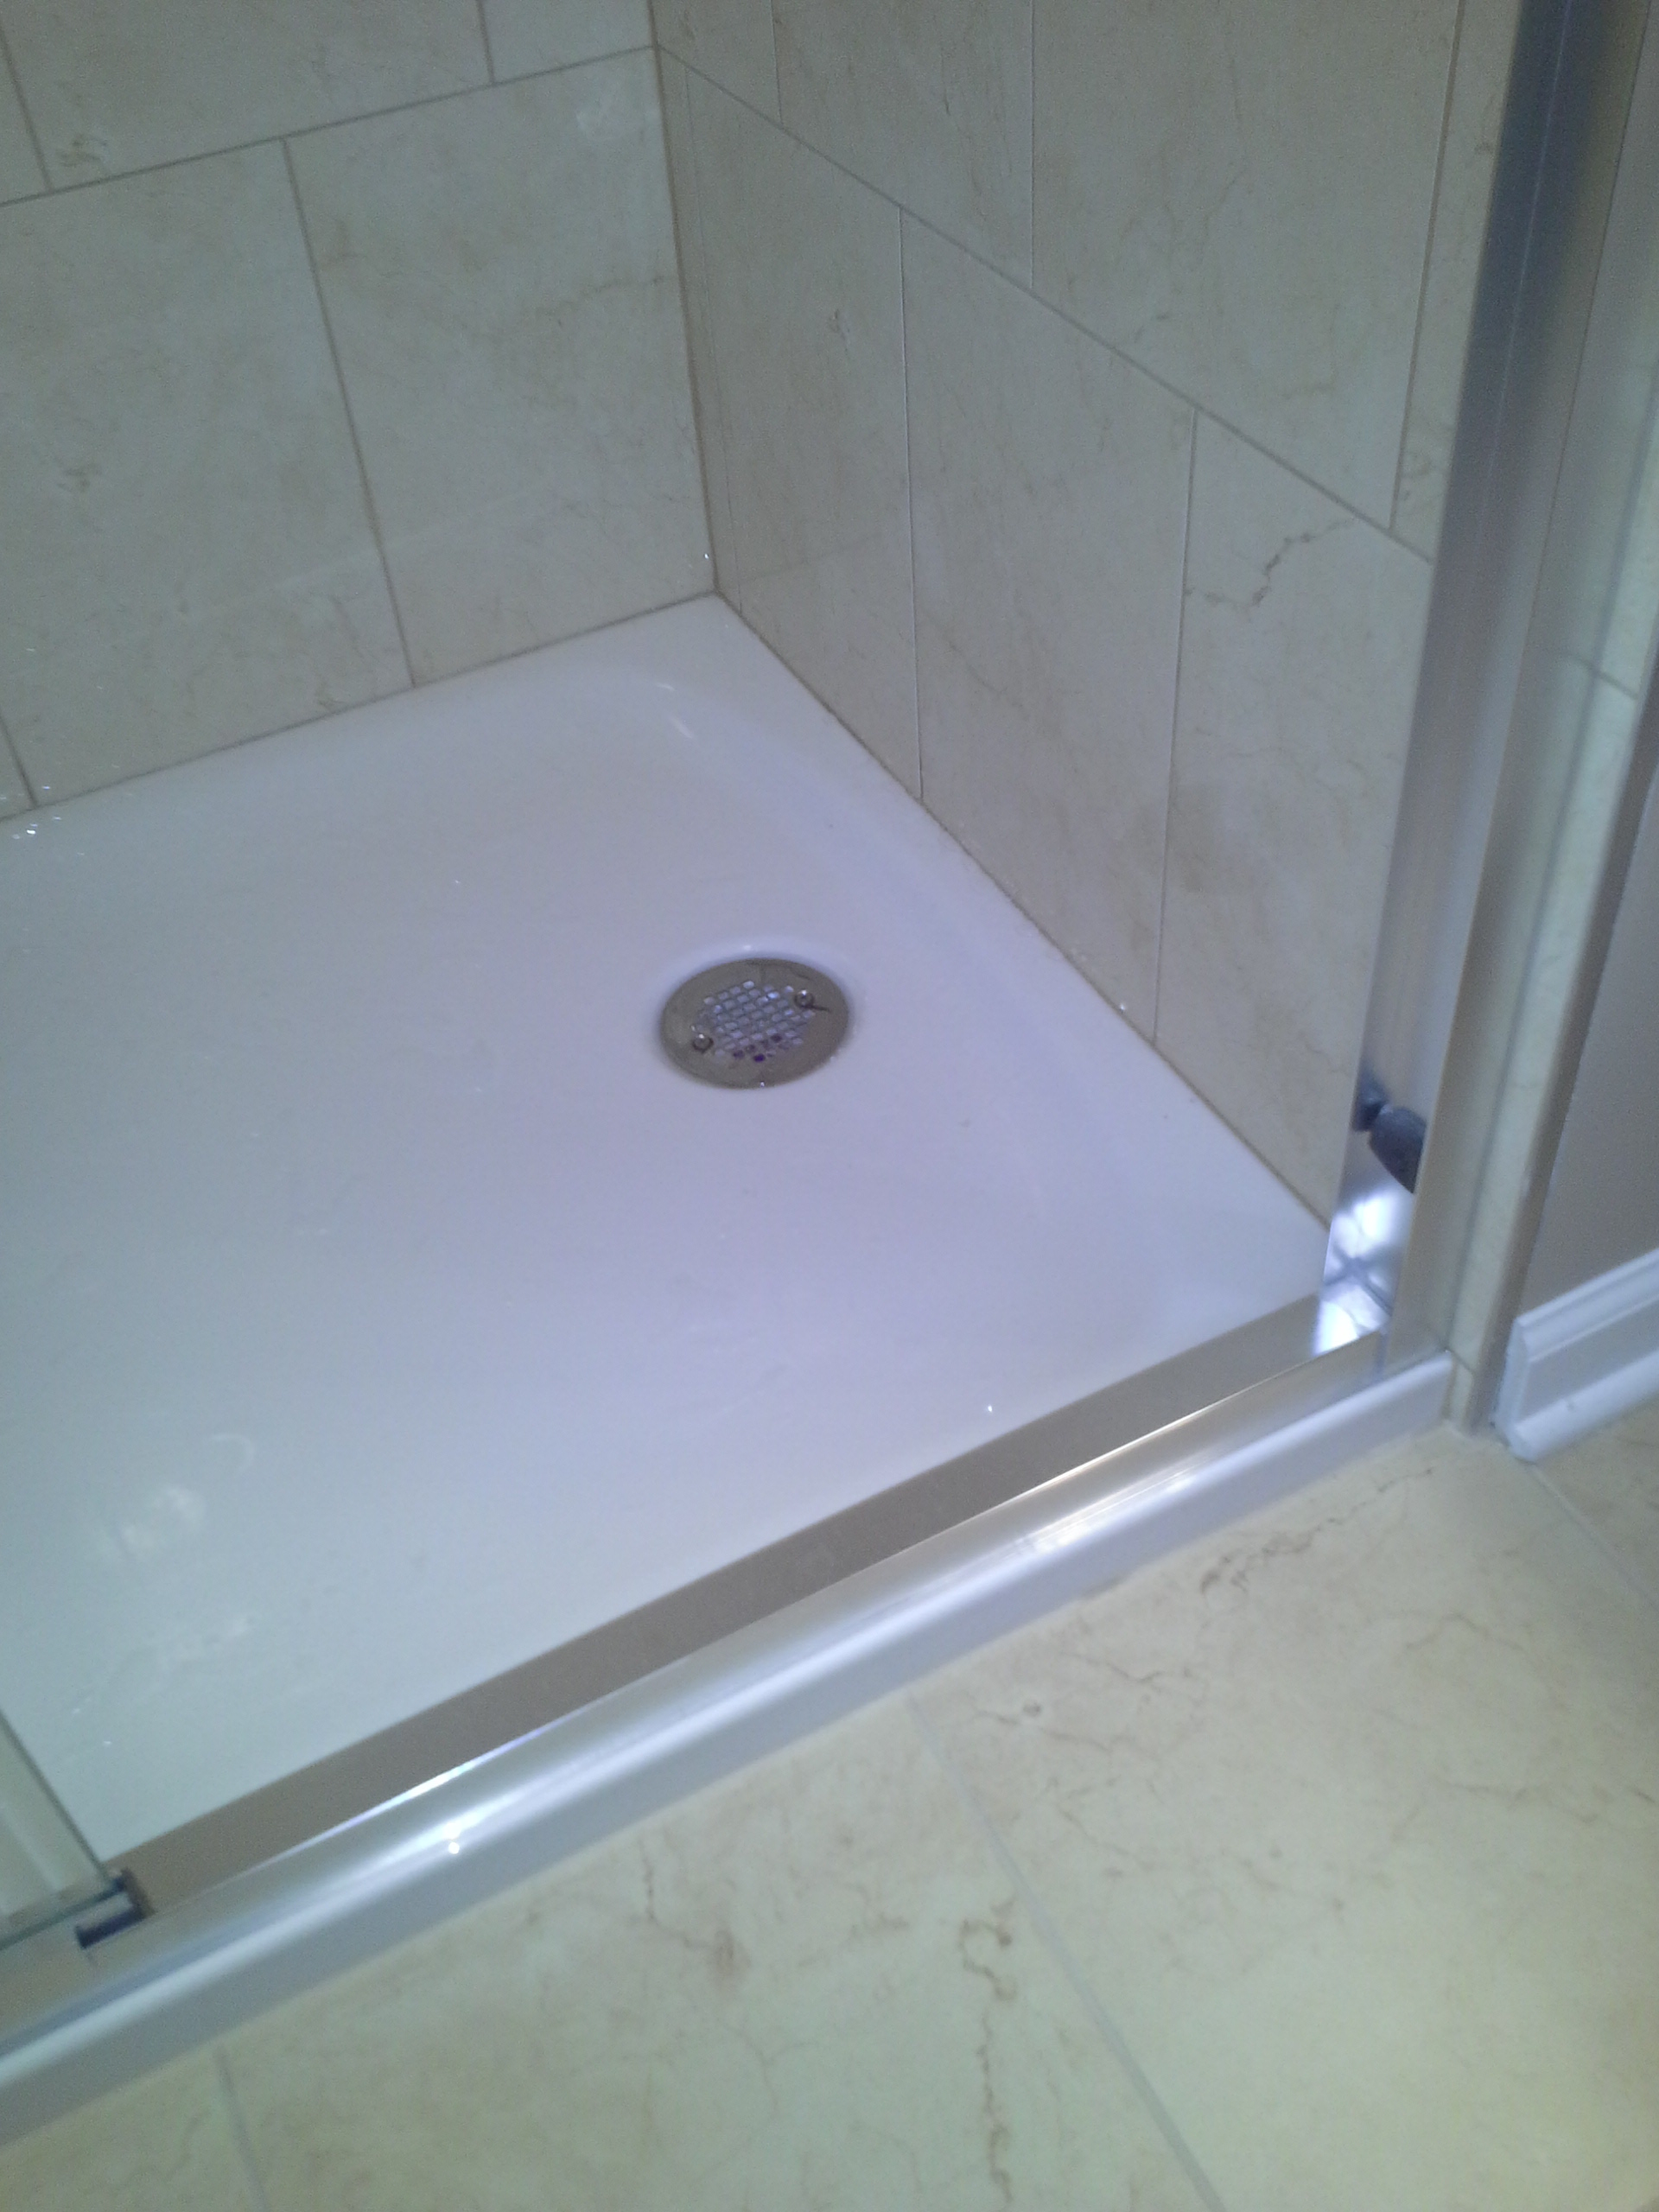
After you’ve allowed the grout to cure based on the manufacturer’s recommendations, you will need to apply grout sealer to protect and seal the grout. In areas exposed to regular moisture, such as in front of the bathtub or shower, fill the gap with high quality silicone caulking, smoothing with a wet finger for a clean edge.
Step 7: Step back and admire, you’re done.
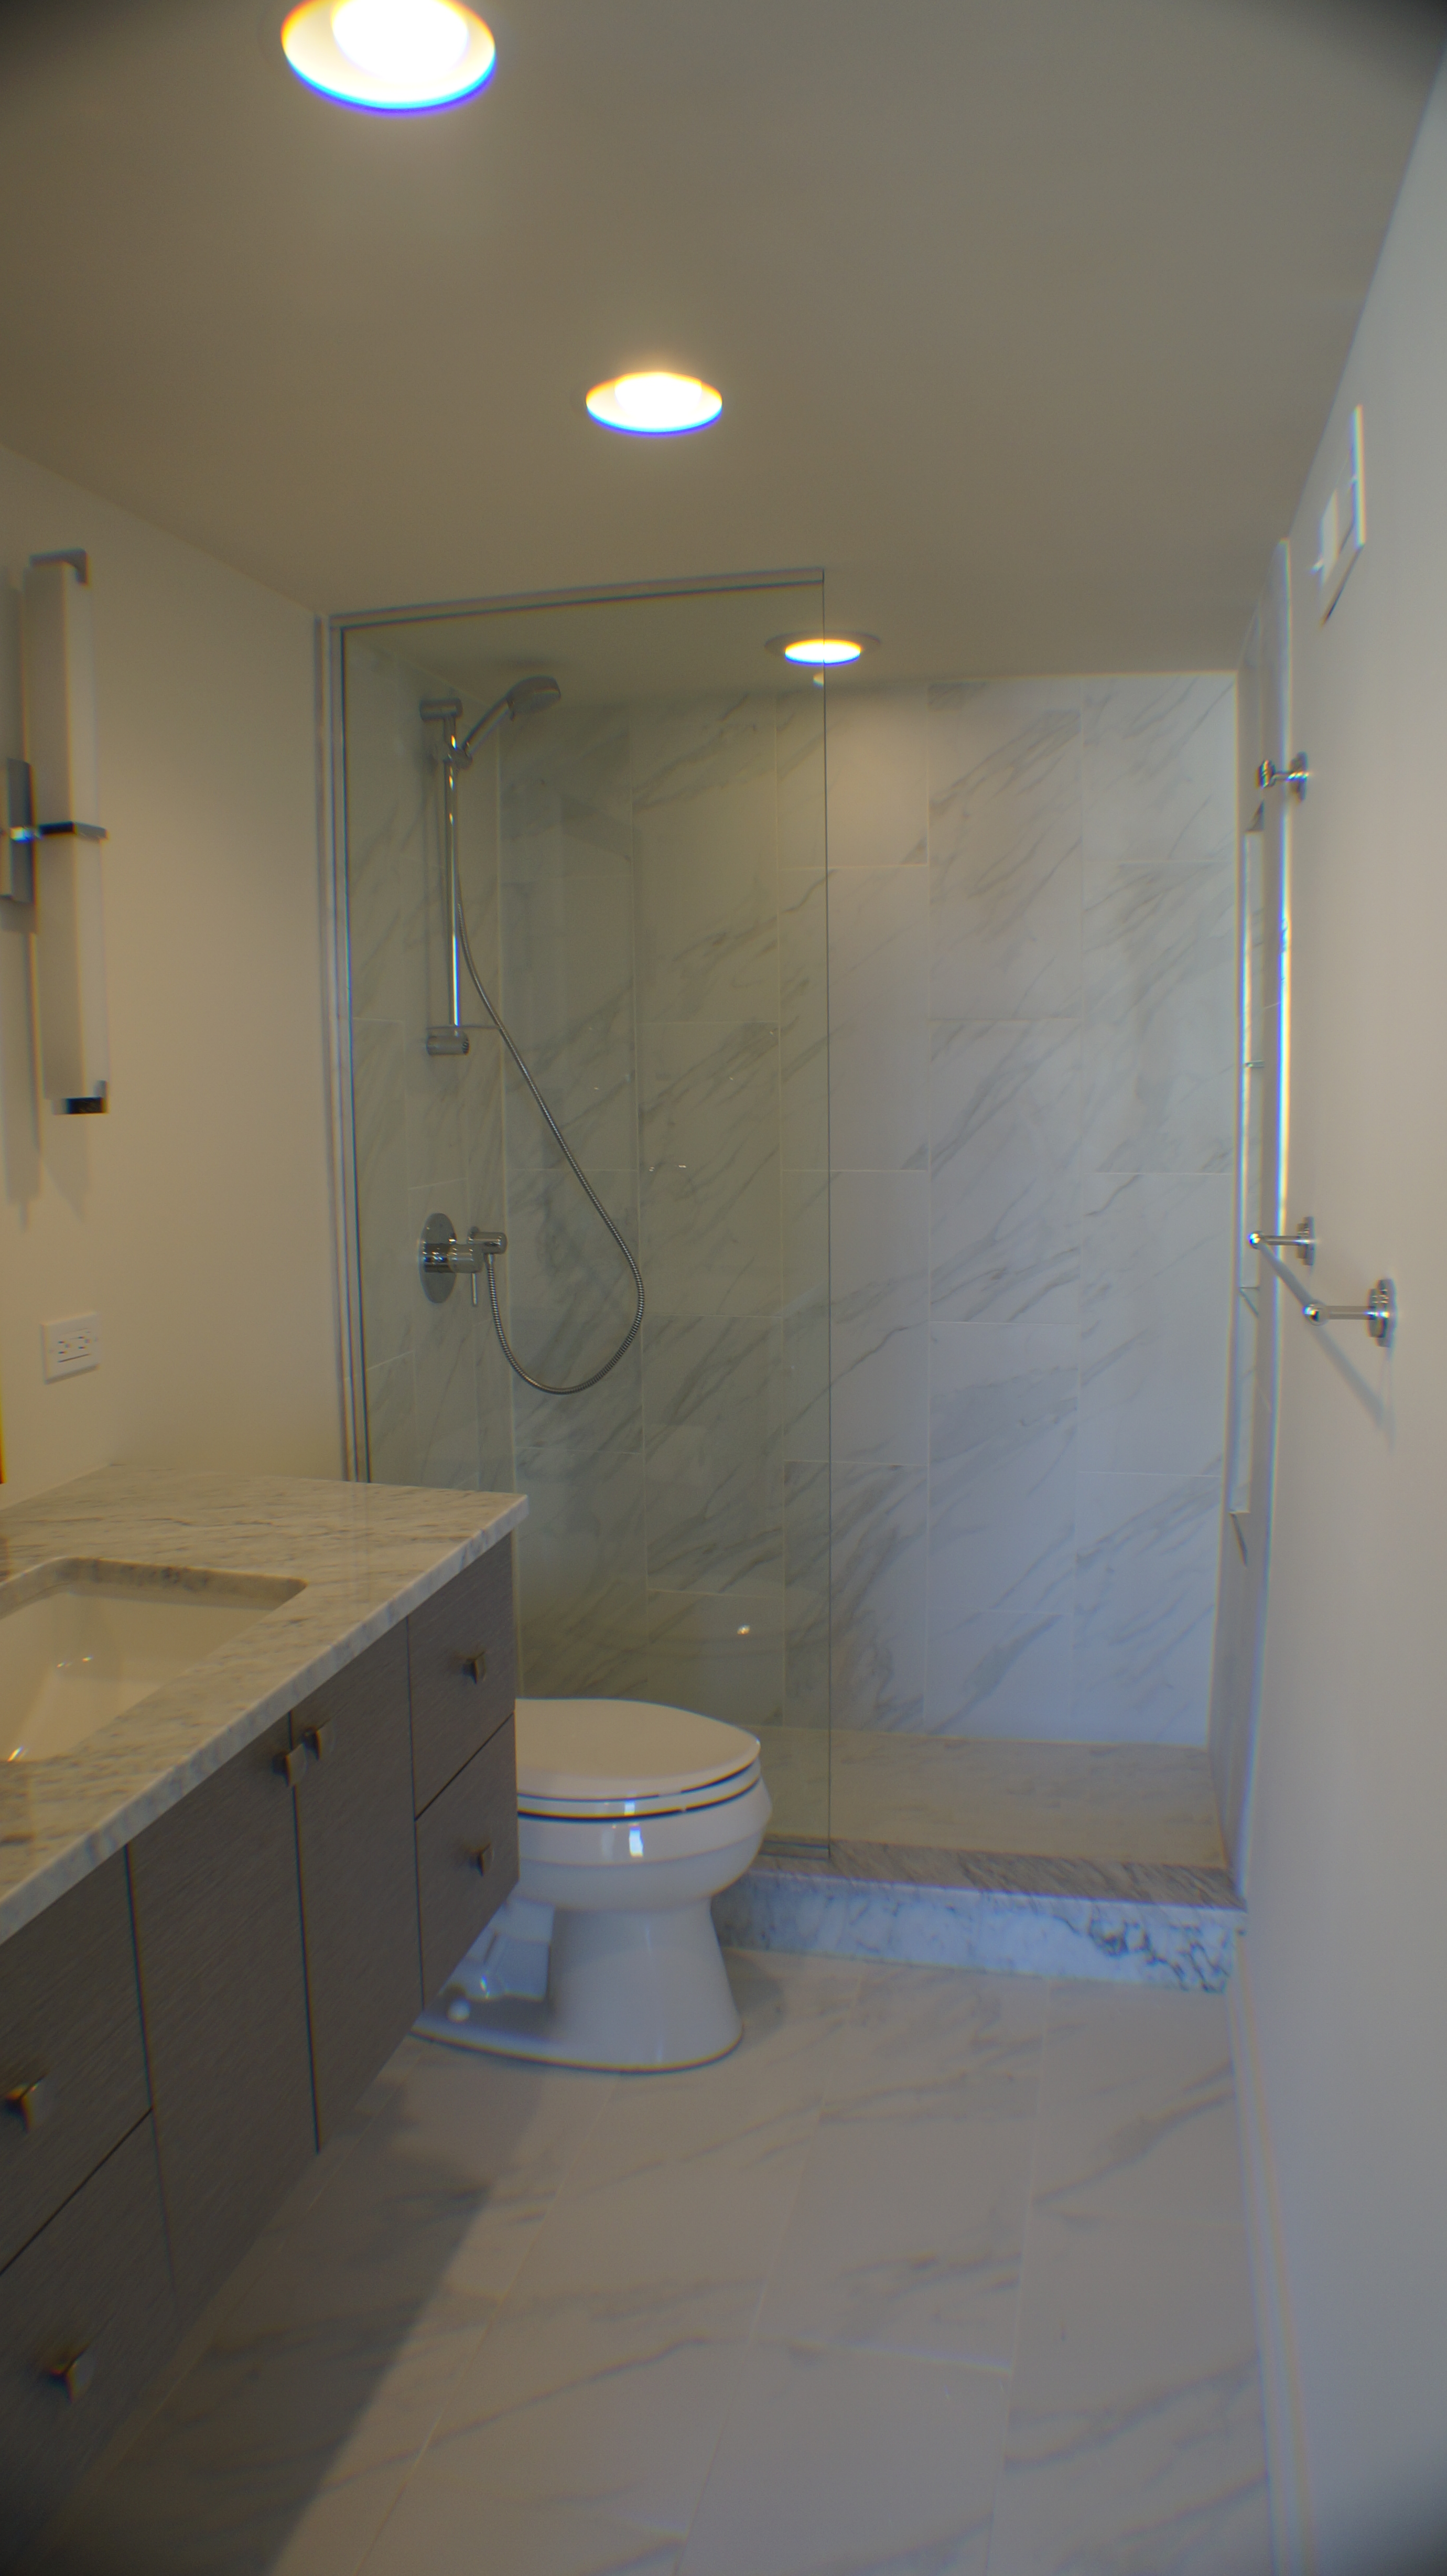
Following these steps to install a new bathroom floor will ensure you’ll have a super durable, long-lasting floor that will be water tight, beautiful and your bathroom renovation will have added value to your home.
If you feel like this might be biting off more than you can chew, we’re here to help.
Just complete our short contact form, or give us a call at 1-773-688-9864 – we offer complimentary, no-obligation bathroom remodeling consultations that will provide details on cost and timing, specific to your bathroom renovation requirements.