At Archway, we have a very specific process when it comes to remodeling kitchens because there are so many important components involved. We’ve been documenting the process of renovating this customer’s outdated kitchen from the very beginning, and as we come to the final week of work on this project, wanted to share that process with you through a series of steps and photos.
Below are the ten steps we have gone through to give our customer her dream kitchen!
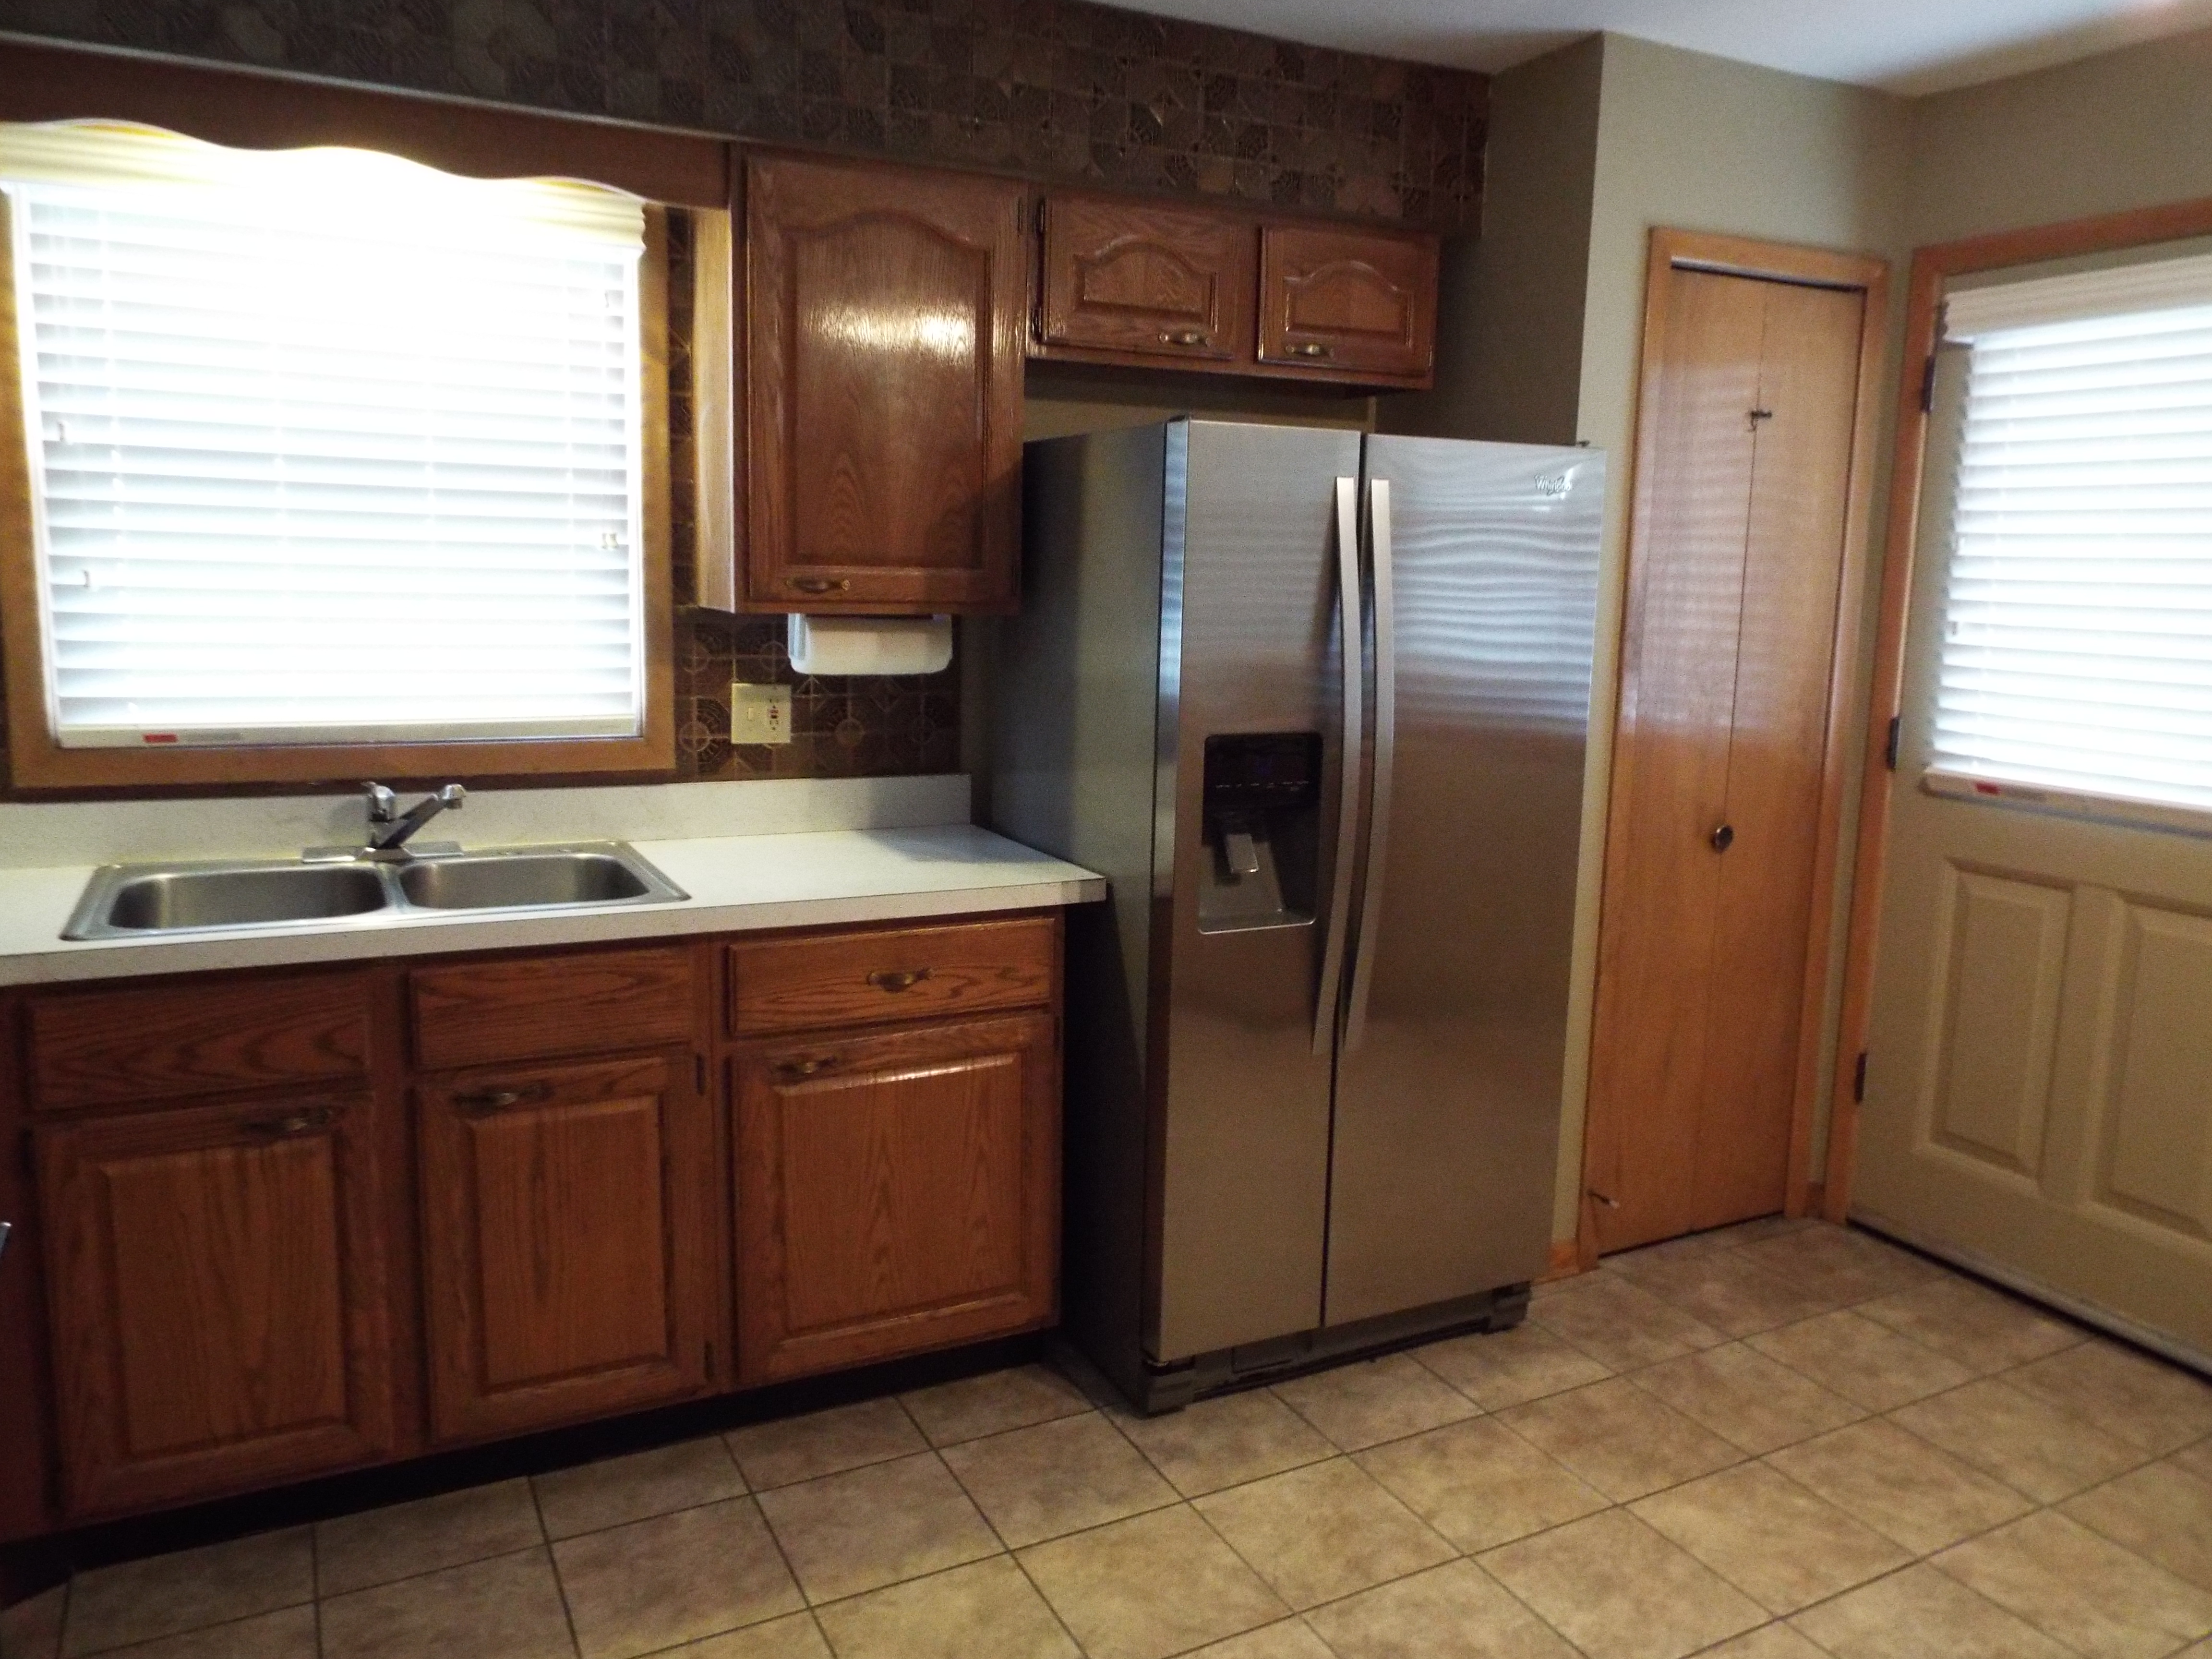
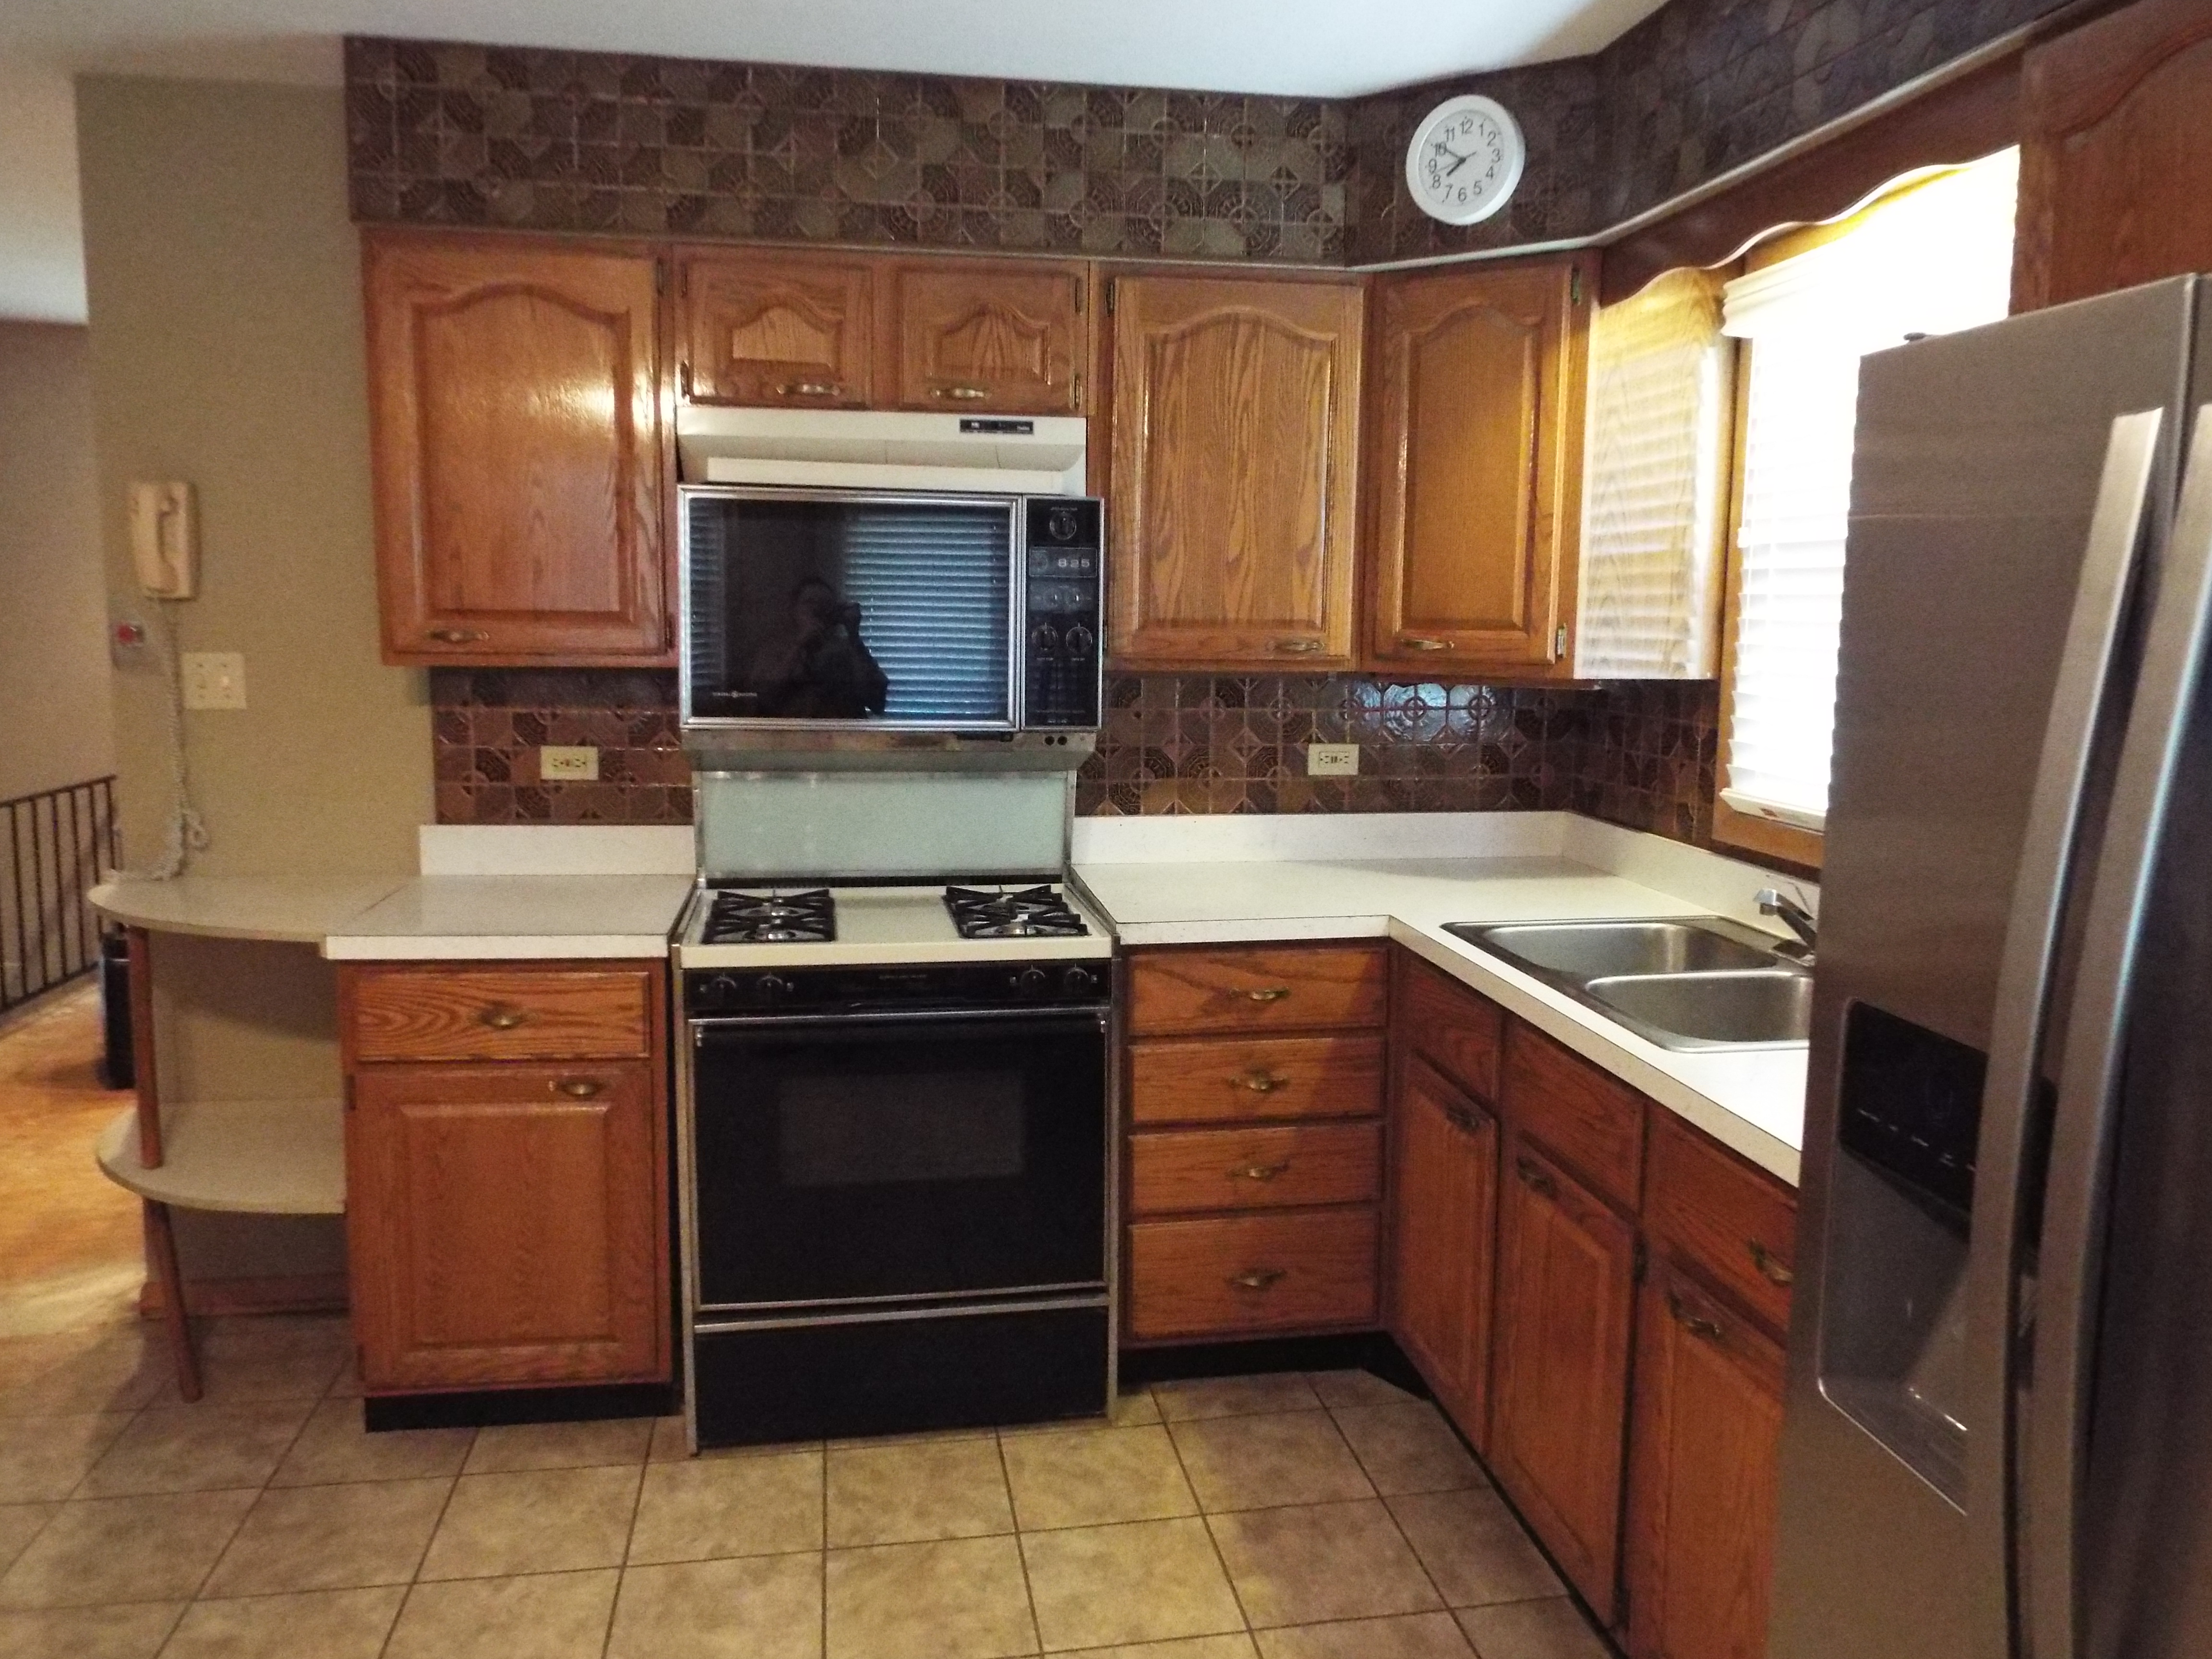
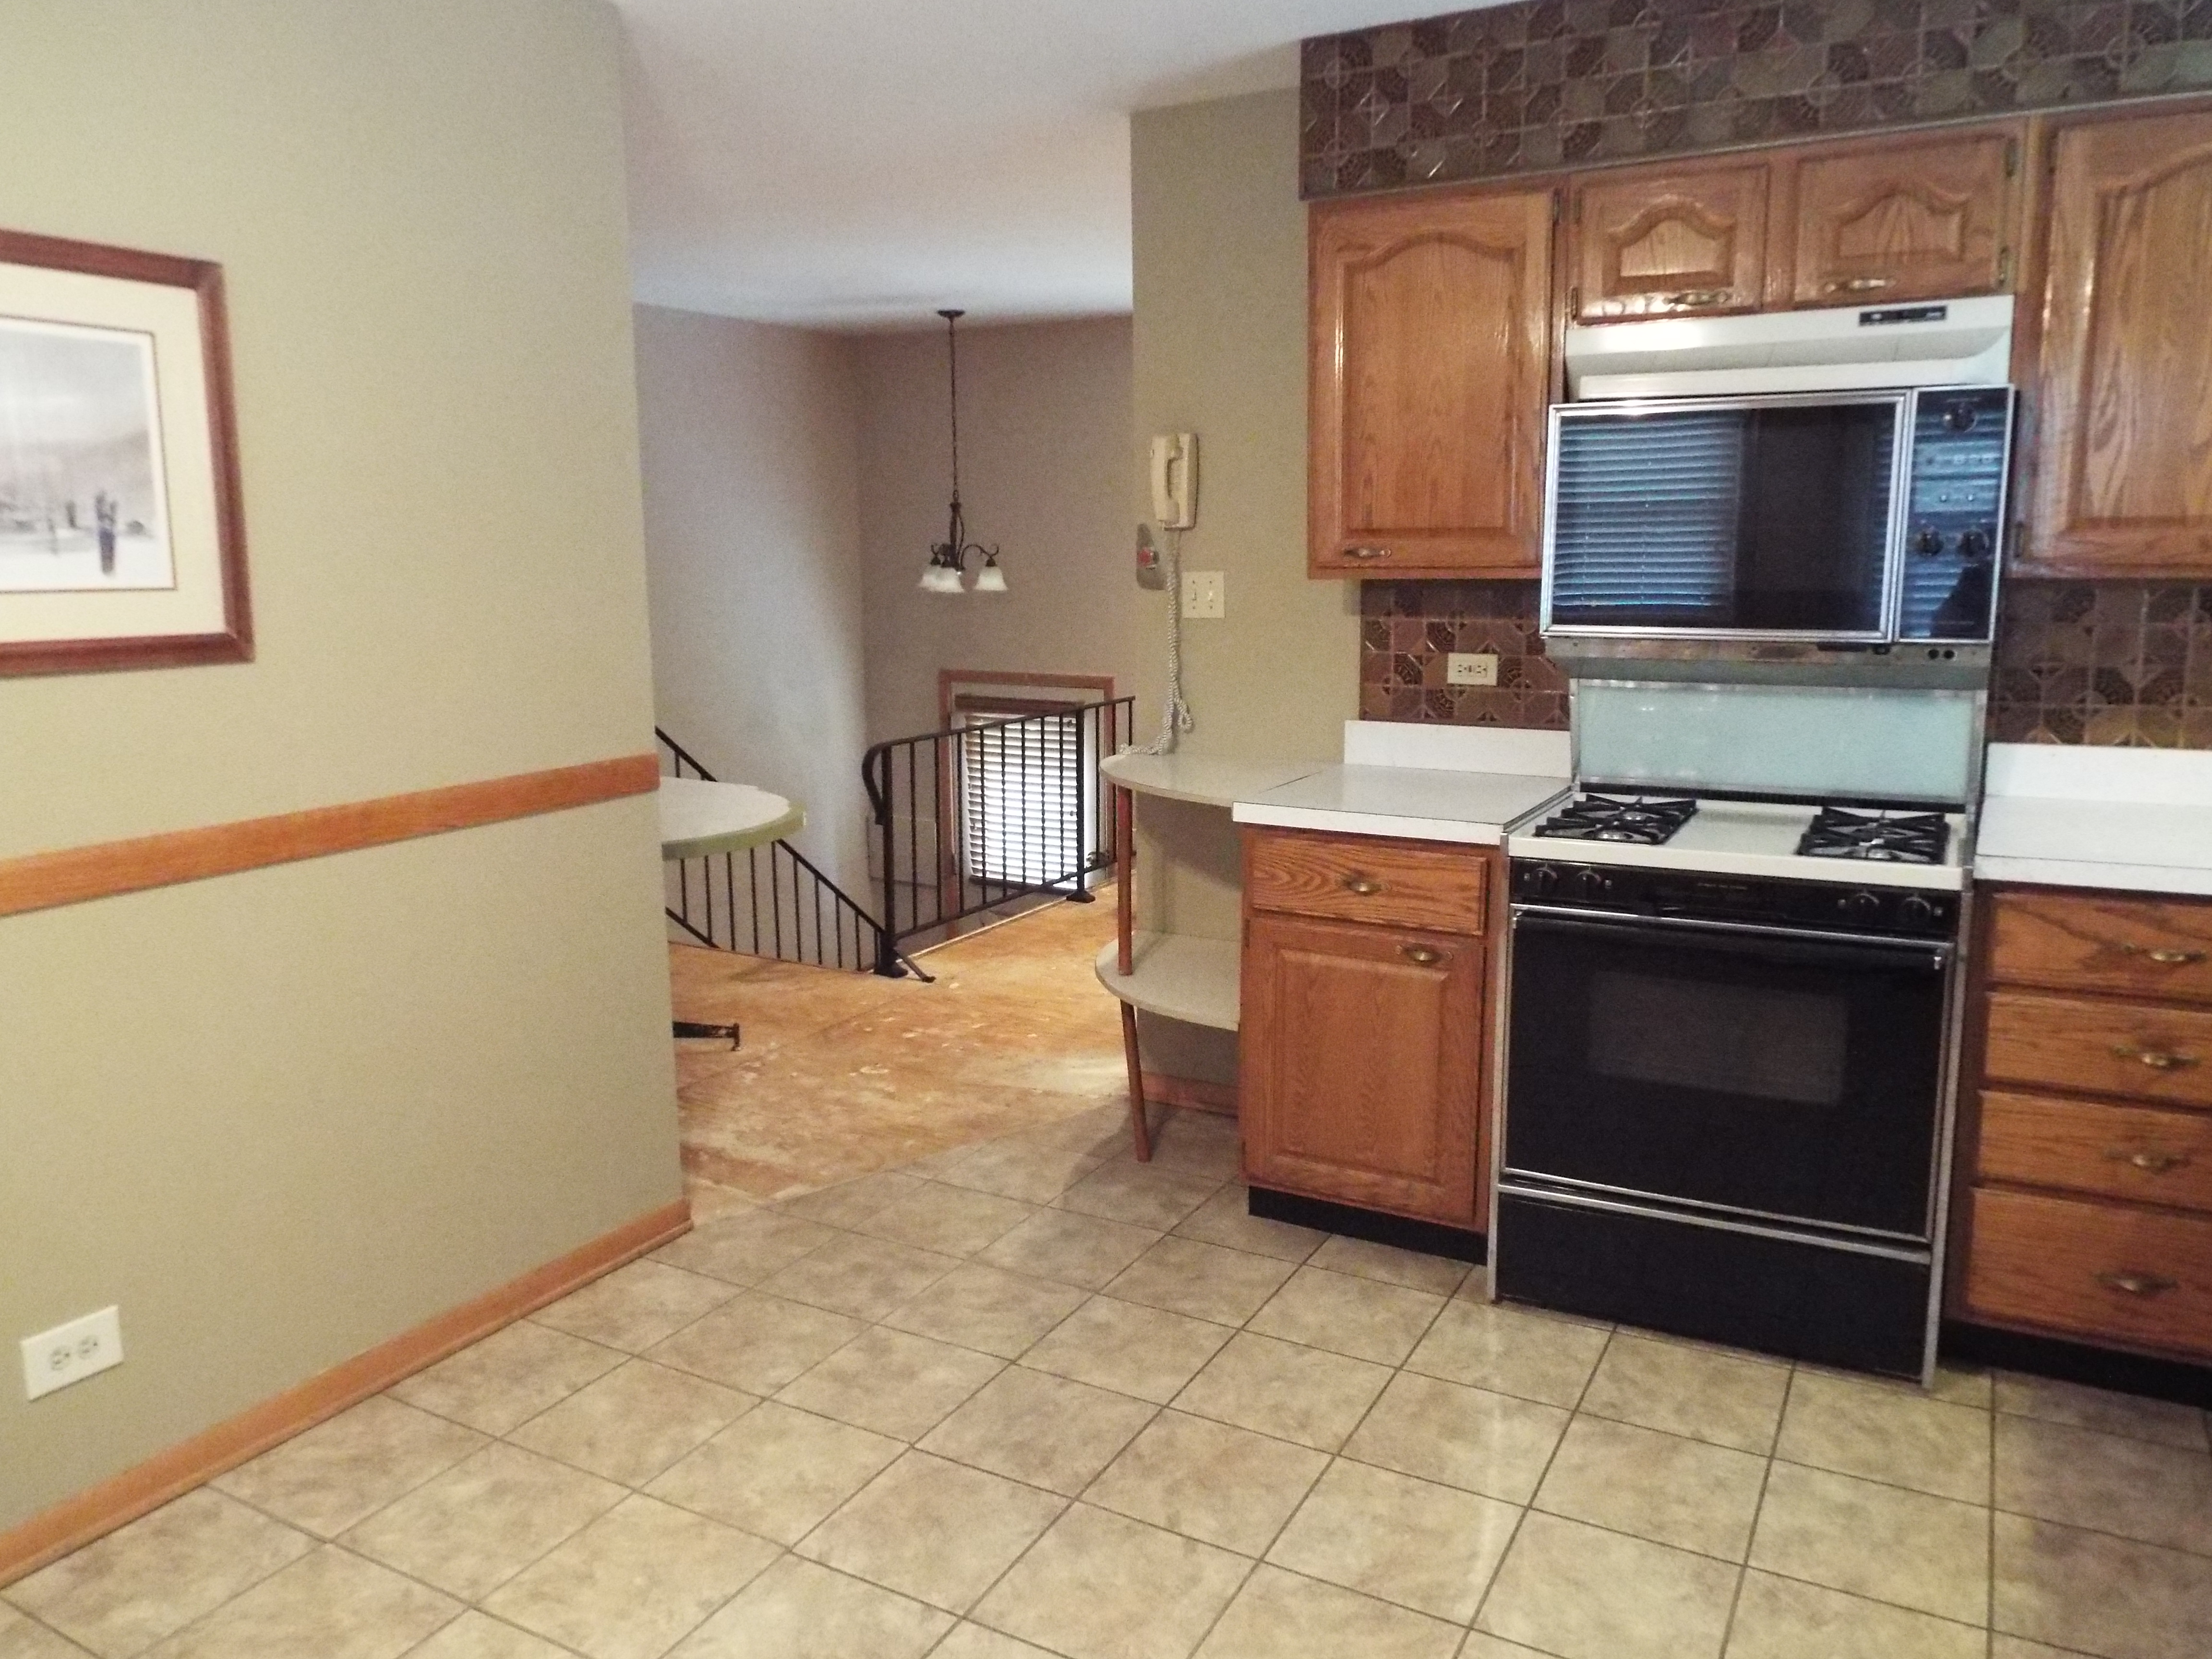
Step One: Assess the Existing Kitchen
The first step in beginning any kitchen renovation is to fully assess the existing space and find out why the homeowner wants to remodel it. In this customer’s case, she wanted to update her small, 1970’s style kitchen to bring it into the 21st century and to make it bigger by borrowing space from the dining area.
Here’s a look at the kitchen in its original/existing state:
Step Two: Measure
After assessing what the existing kitchen looks like, the next step is to take measurements of every single thing you could possibly imagine measuring in the kitchen. This means measuring the square feet of the flooring, the countertop, the backsplash, the height and length of the cabinets, the space from the ceiling to the top of the cabinets, the height and length of all walls, etc. It’s very important during this step that the measurements are 100% accurate, so it’s always wise to measure everything multiple times. This will come in handy for the next step, choosing the new kitchen design.
Step Three: Choose New Kitchen Design and Scope of Work
This part of the process is extremely crucial, because this is where the homeowner gets to choose (along with the help of our professional kitchen designers) how their new kitchen will look and function. This step includes many parts, from the selection of the materials to 3D renderings of the new space to a laundry list of what all will be updated and replaced in the kitchen. Once this is all decided and signed by the homeowner, the job can begin.
In the customer’s case, she chose to expand her kitchen, add white shaker-style cabinets, granite countertops, porcelain flooring, new appliances and much more to take her kitchen out of the 70’s and into the modern world.
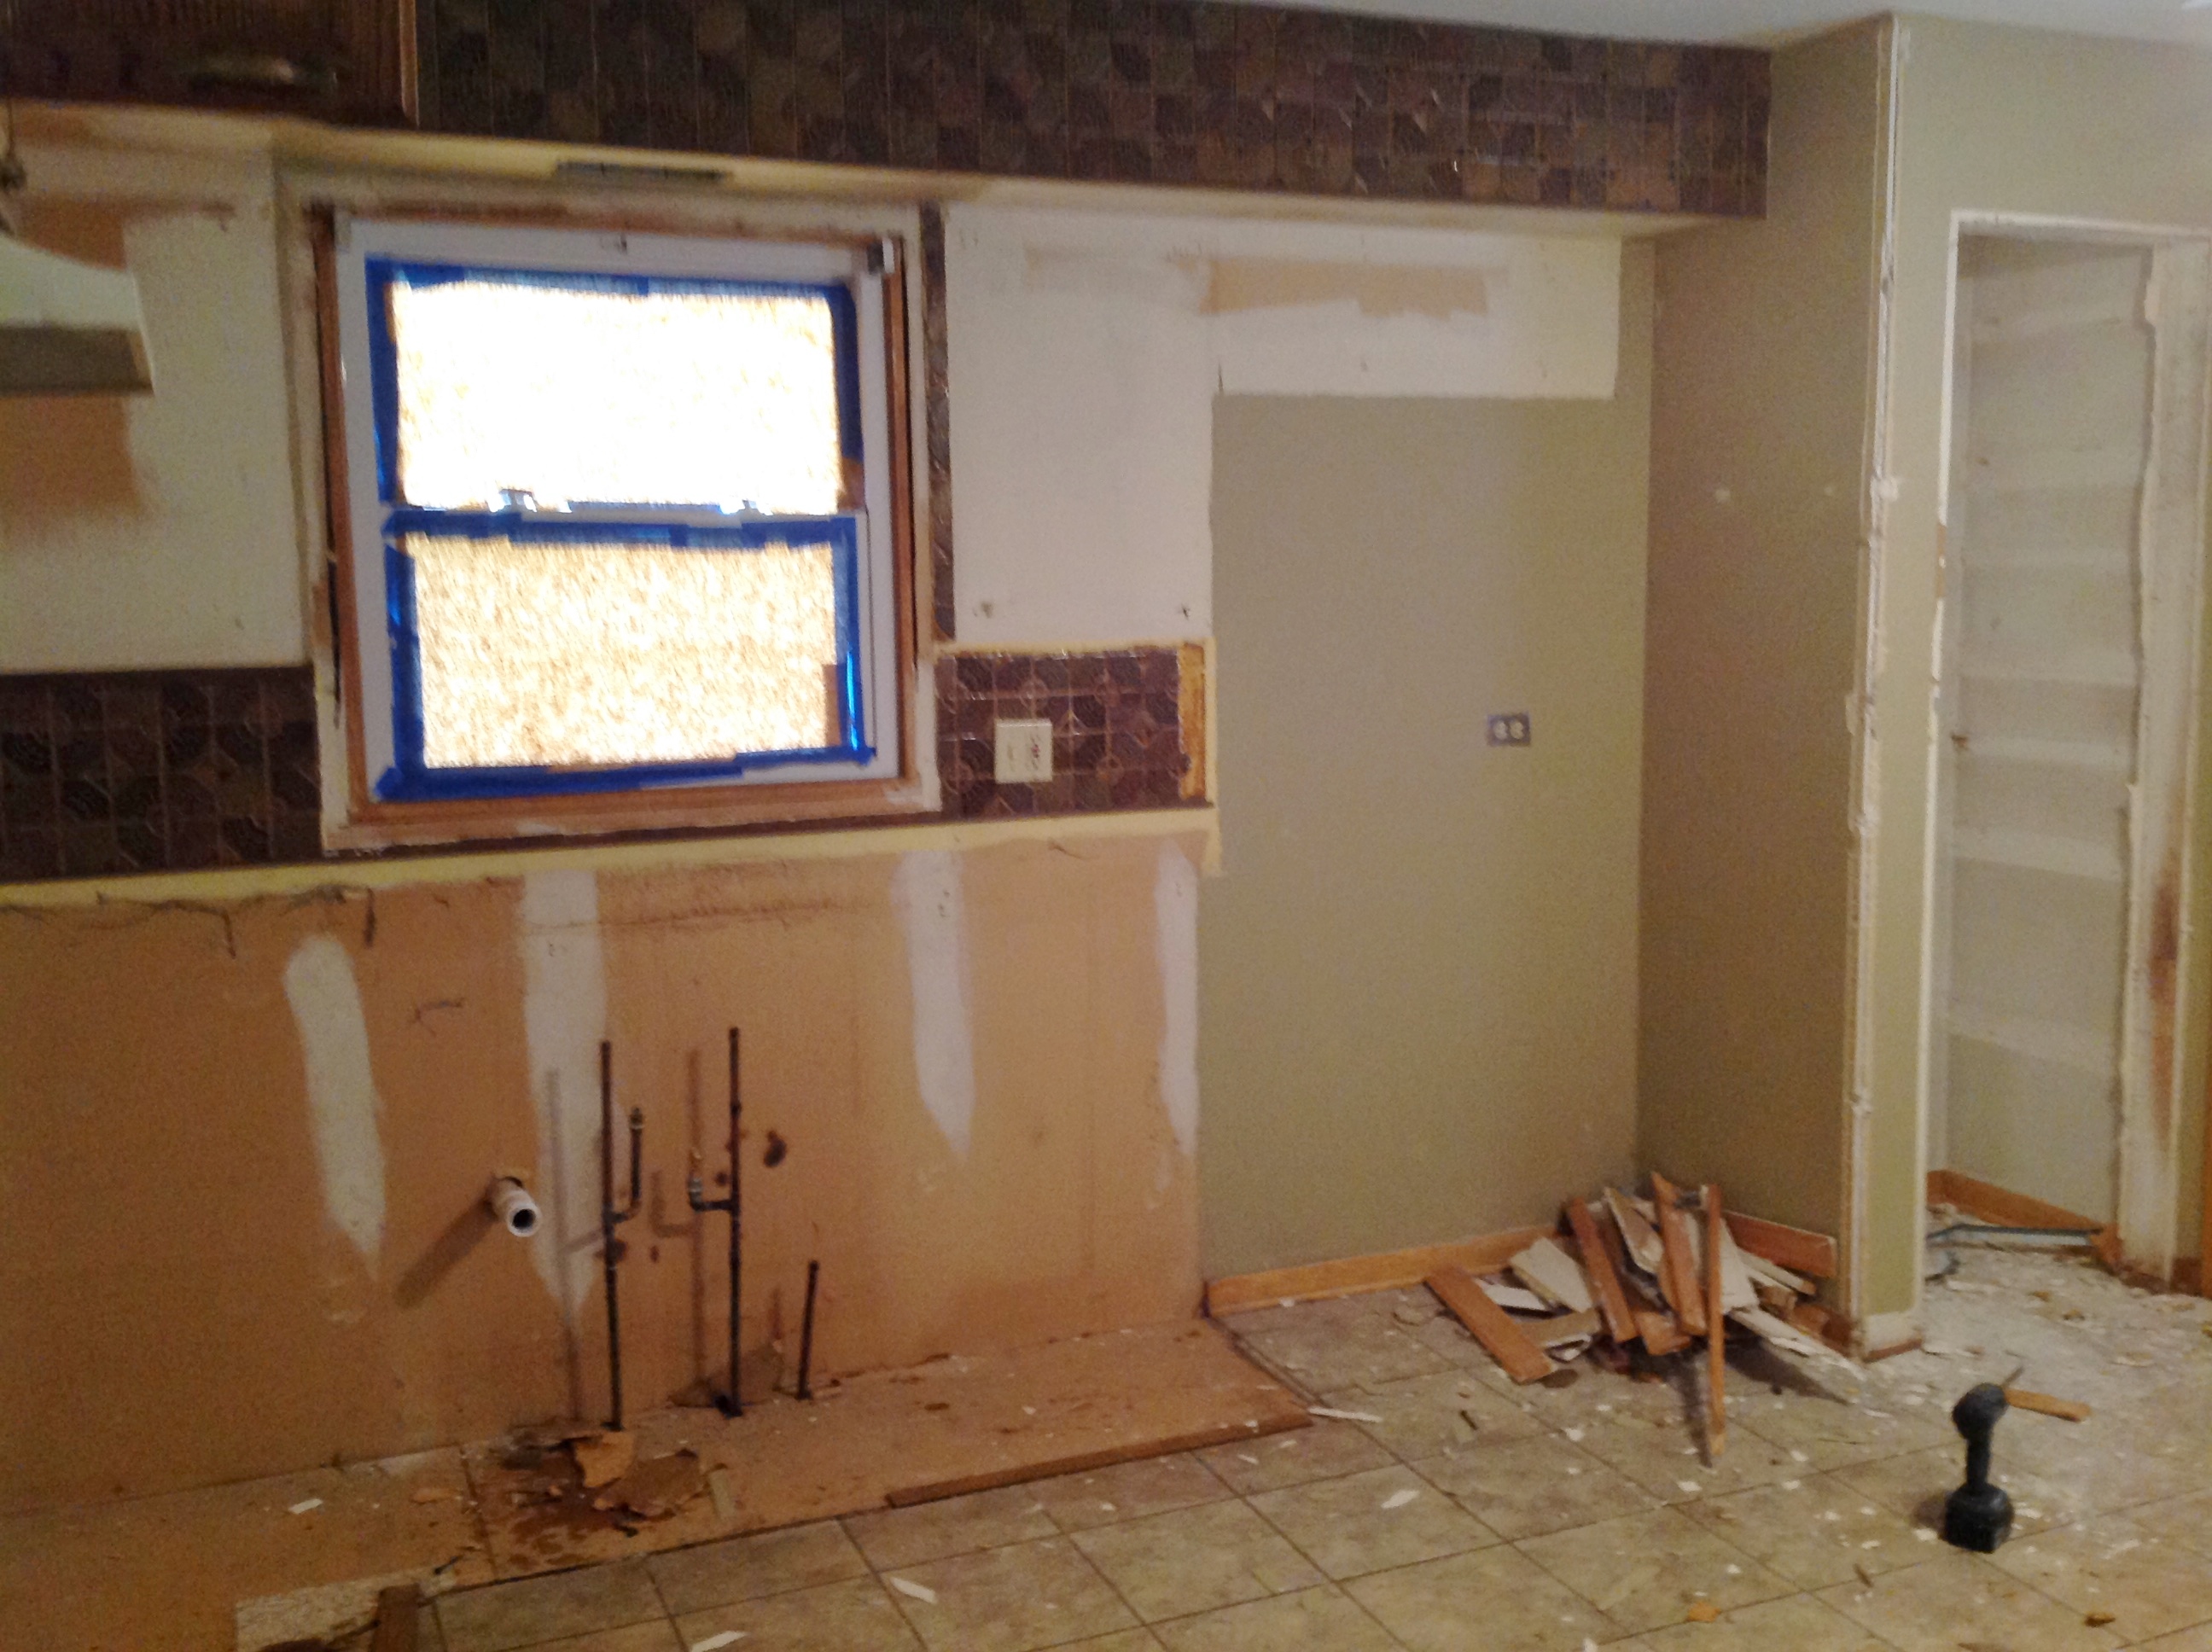
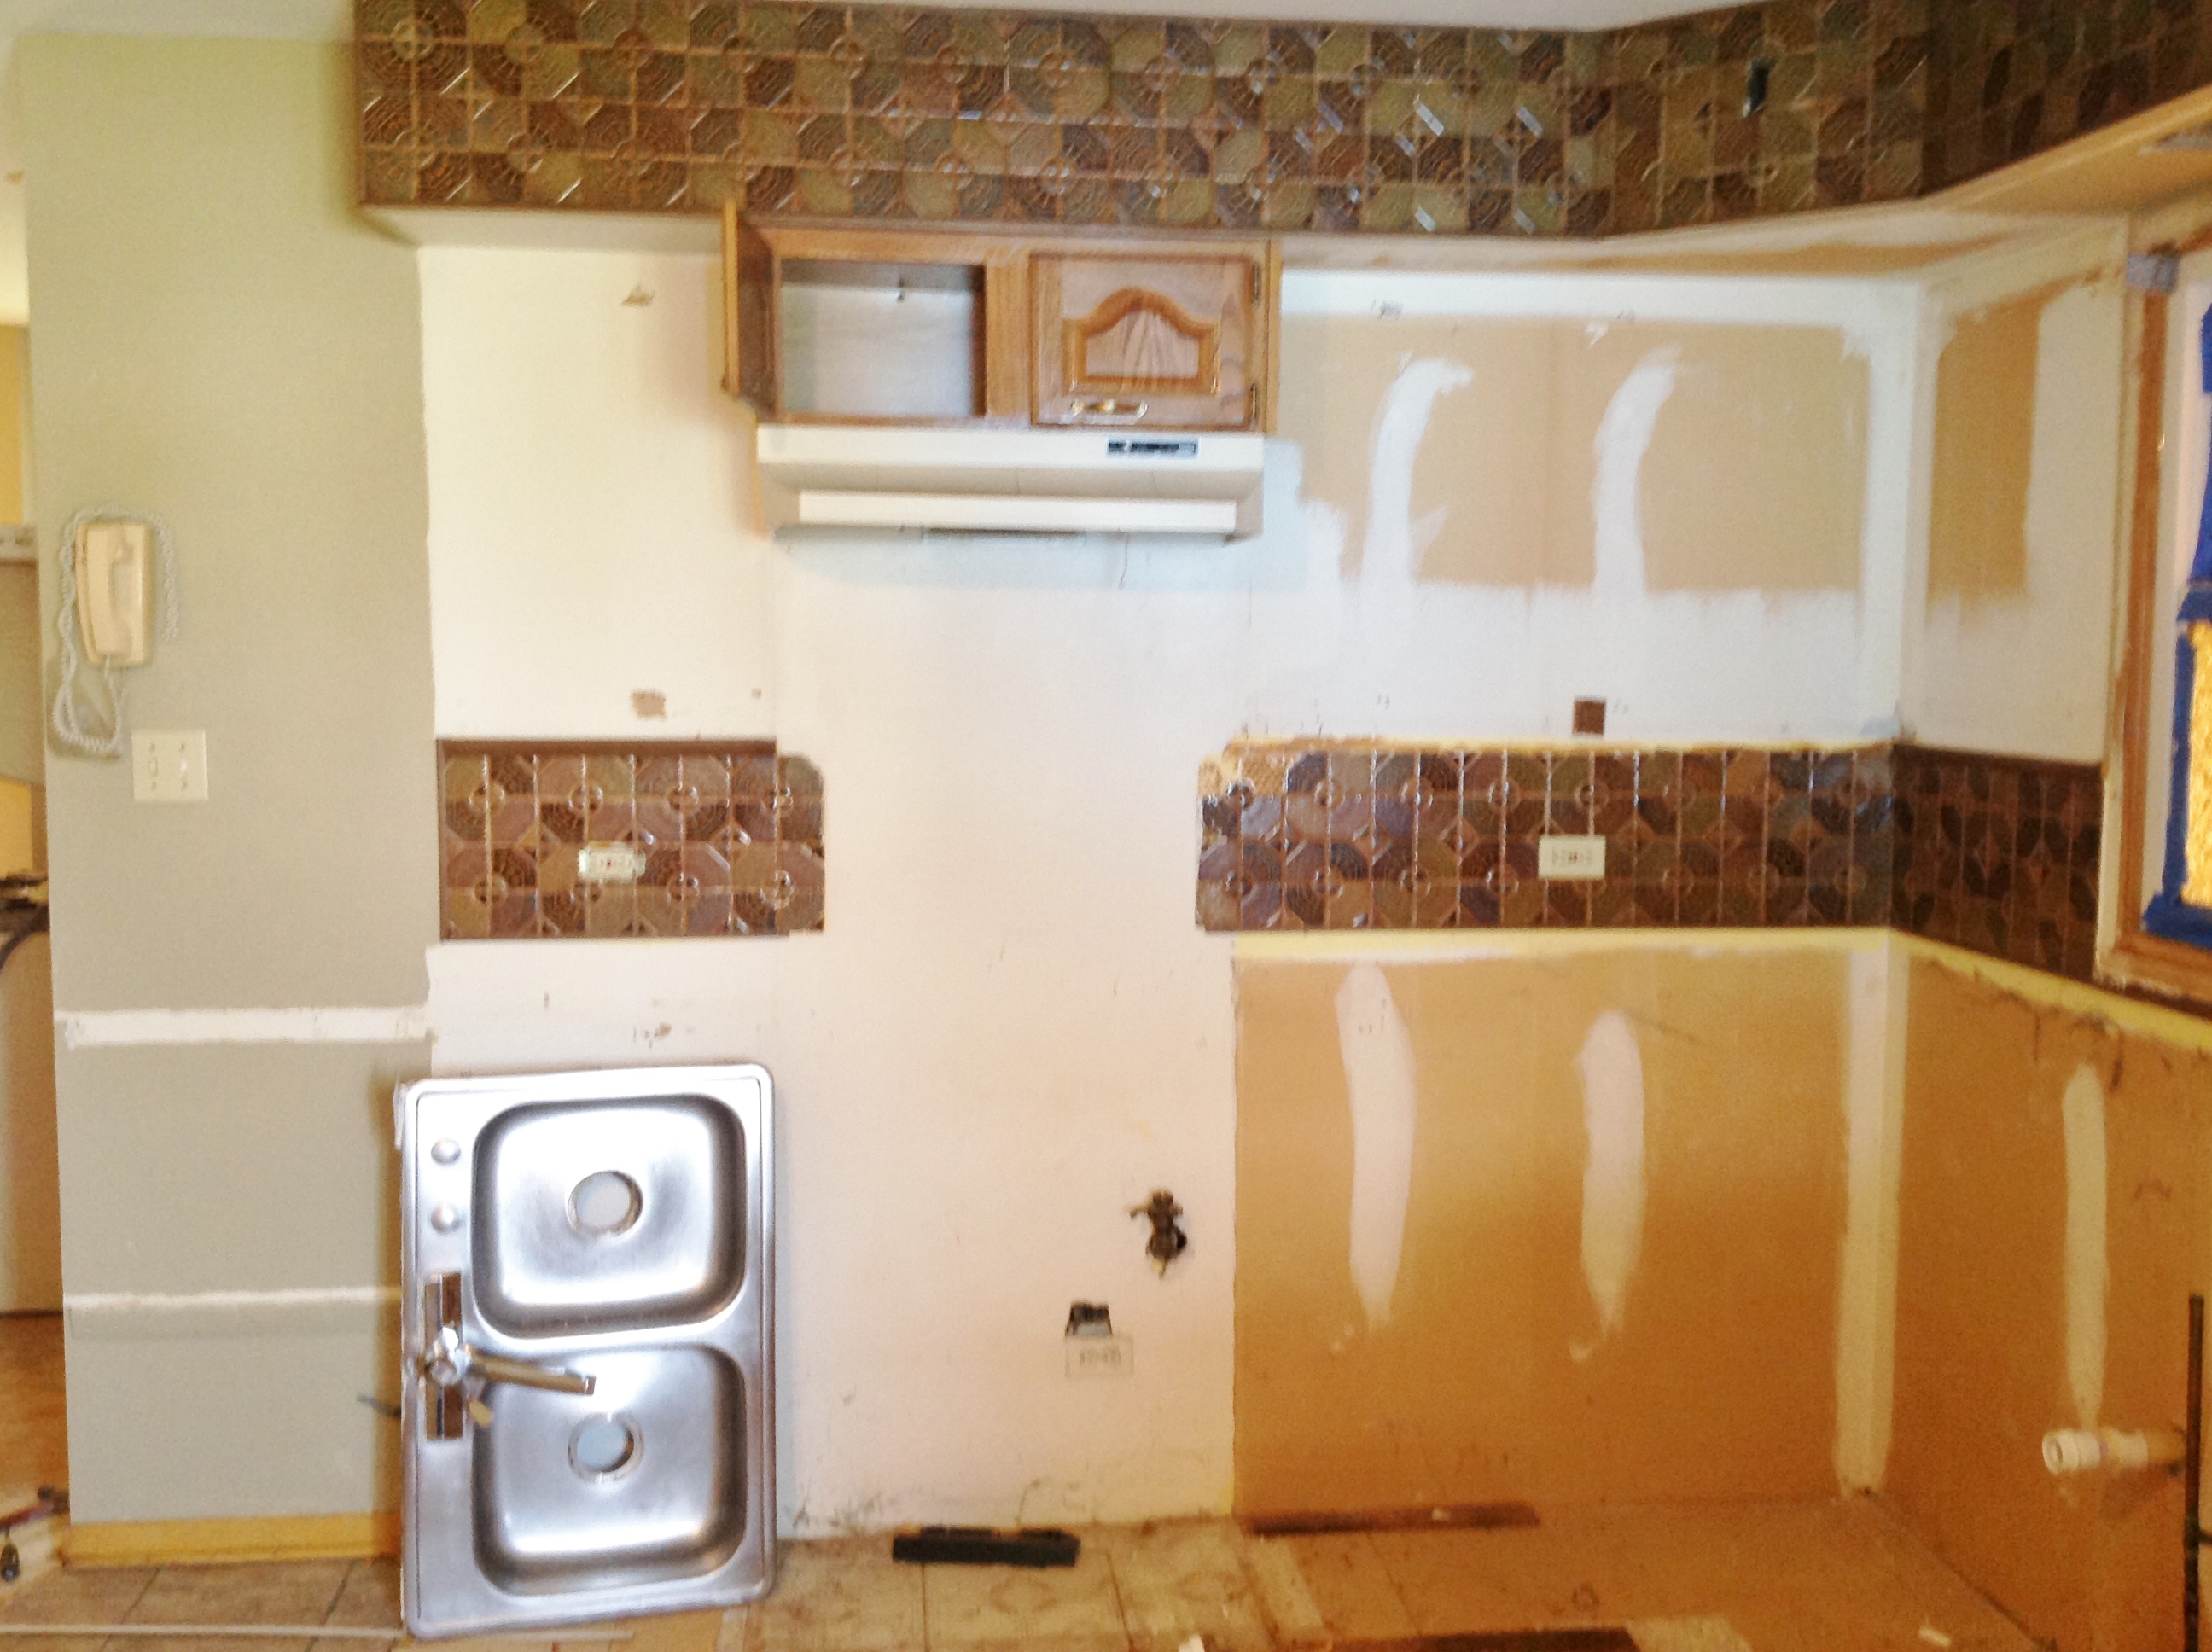
Step Four: Demolition
Arguably the most fun step of the whole process, demolition is the act of tearing down all of the old materials in the kitchen to make way for the new ones. This takes a day or two to complete, depending on the size of the job. Here are some photos that were taken during the kitchen demo. These were taken right after the cabinets had been ripped off the walls.
Step Five: Rearrange/Install Electrical and Plumbing
This step directly relates to step three, because the new kitchen design will determine whether or not the existing plumbing and/or electrical wiring will need to be moved or replaced. If that is indeed the case, as it was with this kitchen, a licensed plumber and electrician are brought in to move the existing plumbing and electrical outlets to their new destinations.
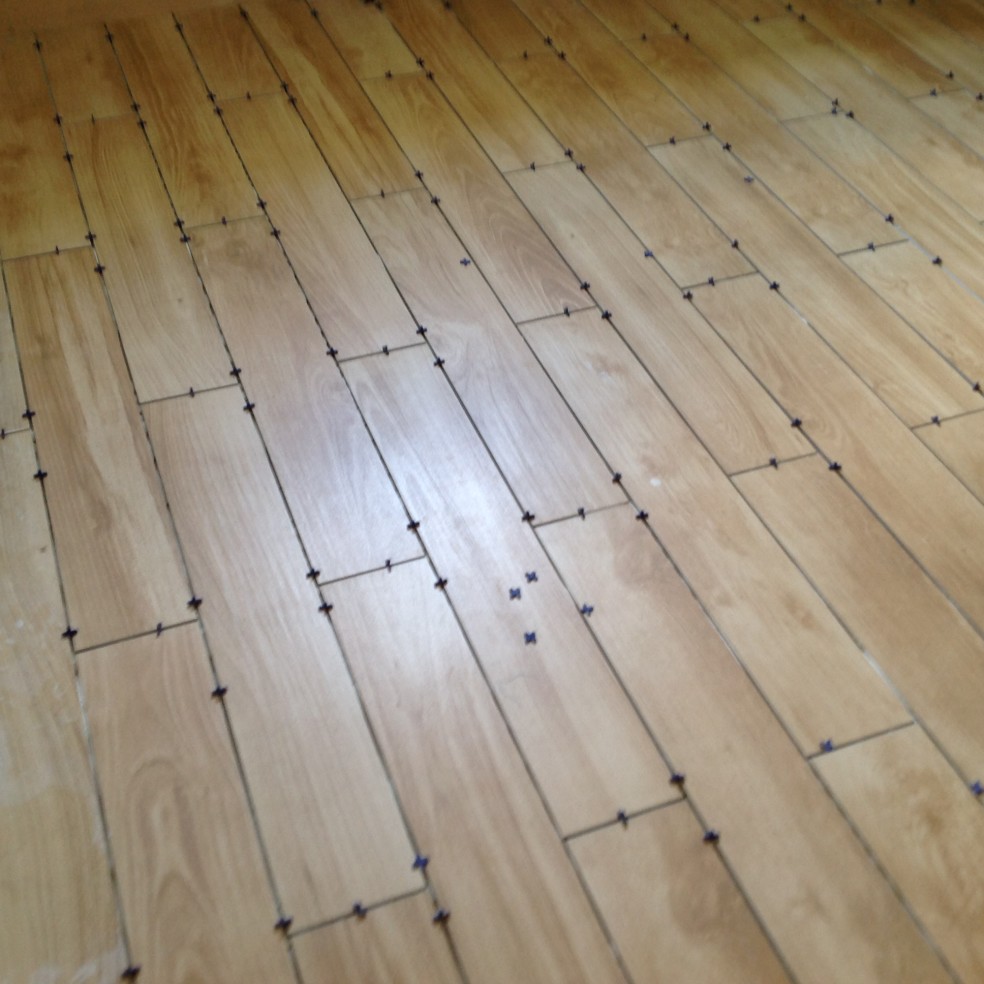
Step Six: Install Flooring
Once the plumbing and electrical outlets have been moved and established in their new location, the flooring can go down. Here’s a look at the new wood-look porcelain tile being laid using spacers to ensure even placement.
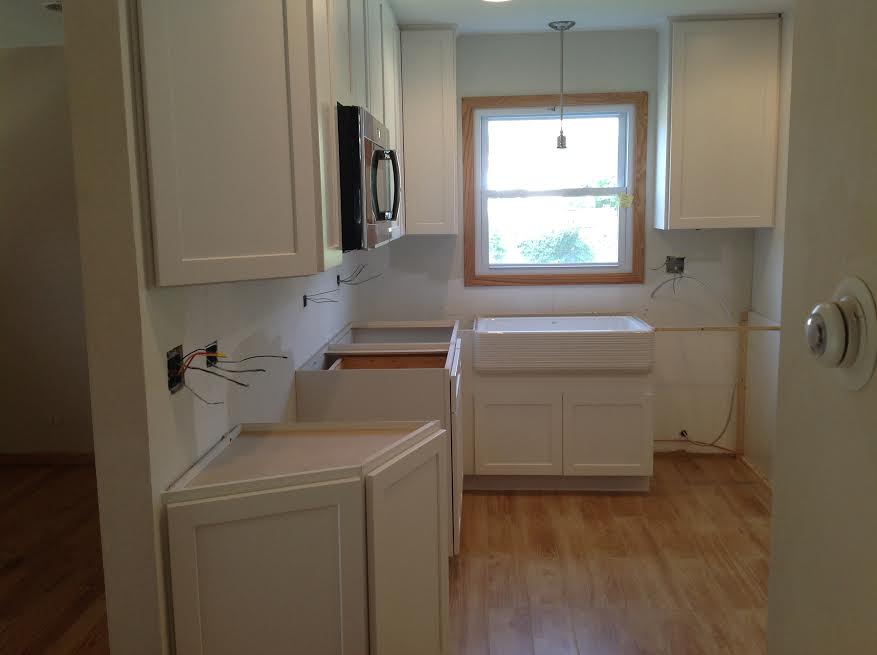
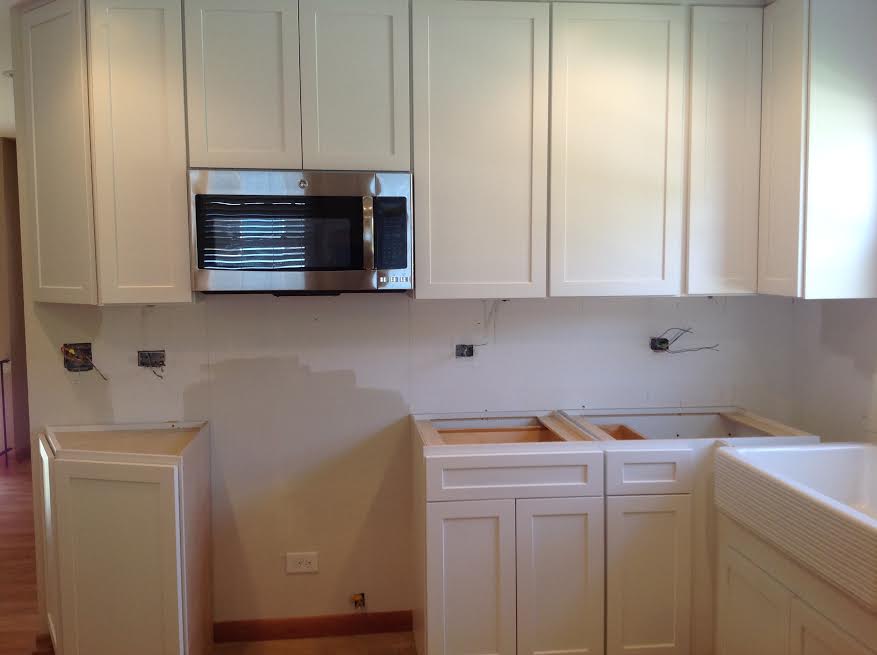
Step Seven: Install Cabinets
Next comes the installation of the new kitchen cabinets. This step is very exciting because this is when the new kitchen begins to come to life. New kitchen cabinets transform the entire look and feel of the kitchen, as well as how it functions. Cabinets add storage and special features that allow the homeowner to fully appreciate the new space. The customer chose these simple, shaker-style alpine white cabinets for her kitchen. Aren’t they lovely?

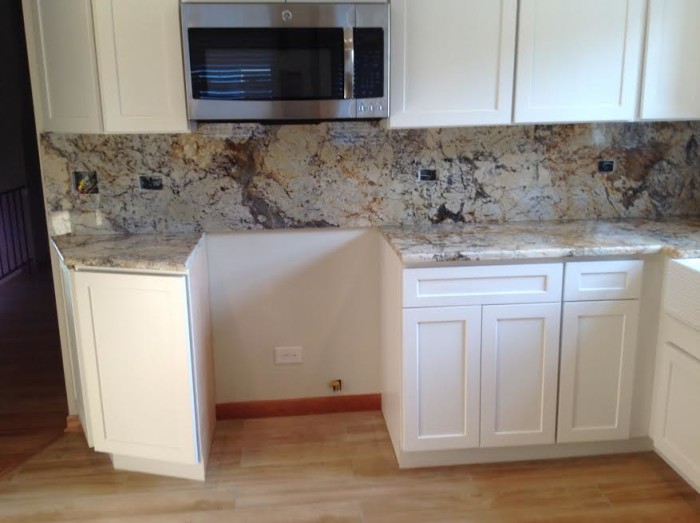
Step Eight: Install Countertop and Bacskplash
Another exciting step in the kitchen remodeling process is the installation of the countertops. The customer chose one of the most beautiful granite countertops we’ve ever used in a kitchen remodel, and in this case she decided to extend the same countertop up the wall as a backsplash. Take a look!
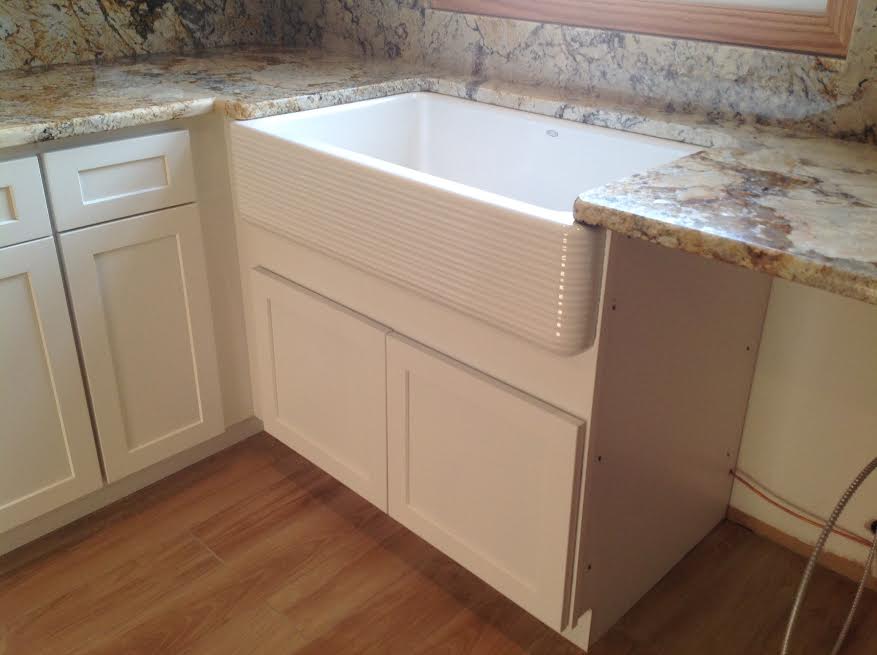
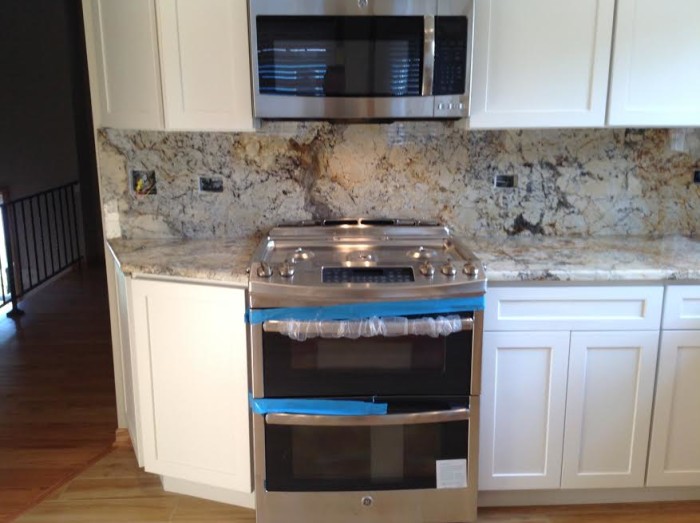
Step Nine: Install Sink, Faucet, Appliances
Here is where everything really starts coming together! The sink, faucet and appliances are just as important as the cabinets, countertop and floor. The customer chose a beautiful apron-front or “farmhouse” style sink, and stainless steel appliances as shown below.
Step Ten: Add Accessories and Finishing Touches
The final step in the kitchen remodeling process is adding all of the finishing touches and accessories to finish up the space, such as cabinet knobs, outlet covers, lighting, etc. Stay tuned for photos of the completed kitchen remodel soon!
Ready to get started on your new Chicago kitchen? Contact us today to schedule your in-home consultation.